I’ve been doing some hand tool woodworking lately. Been getting by with a rubber mallet for the chisel work, but then I saw Rex Kruger’s video on building a traditional joiners mallet and decided that’s what I needed.
Step one: Grab a piece of firewood off the pile.
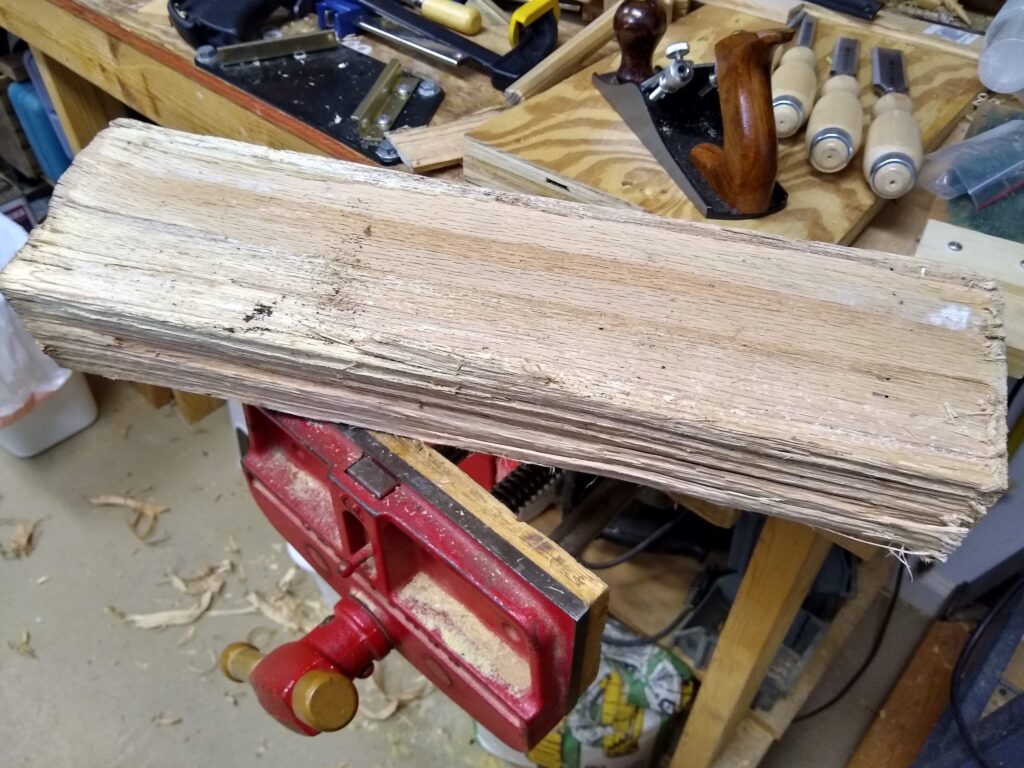
Step two: Make a mallet head.
Simple, but it took a bit of time to turn that into this. A whole bunch of hand sawing and planing later I have a blank that’s square.
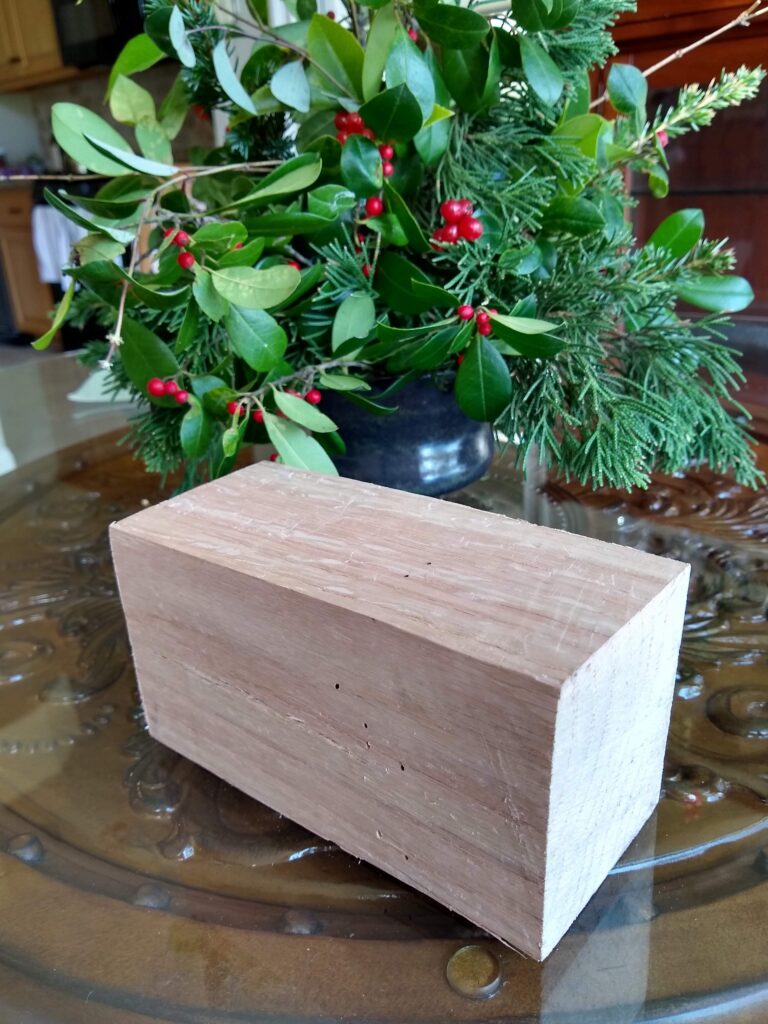
This is the point where I noticed how wet the wood was. This blank sat on a shelf for several weeks drying… until I got impatient and used it anyway. It had developed some checking as it dried, which I ignored. It’s only firewood. I can make another.
I grabbed a piece of 1×2 mystery wood I had lying around for a handle. A bit of work with the spoke shave and I had something that felt comfortable in my hand.
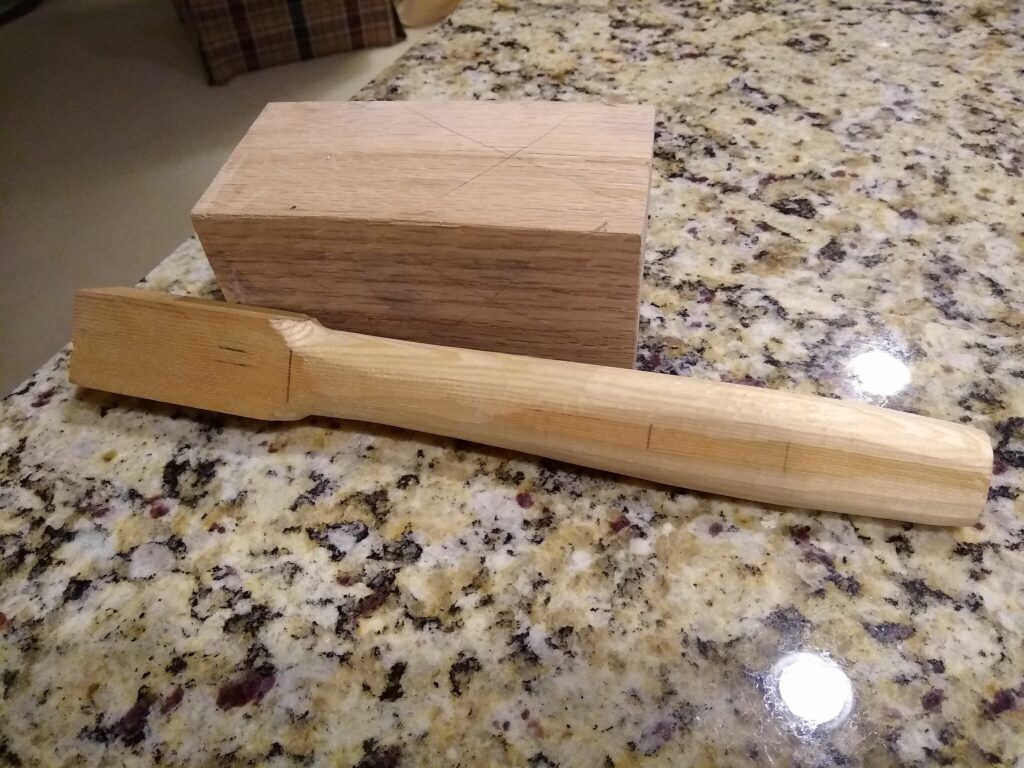
The mortise was made with a power drill and then chiseled square. There’s actually a slight taper to both handle and mortise.
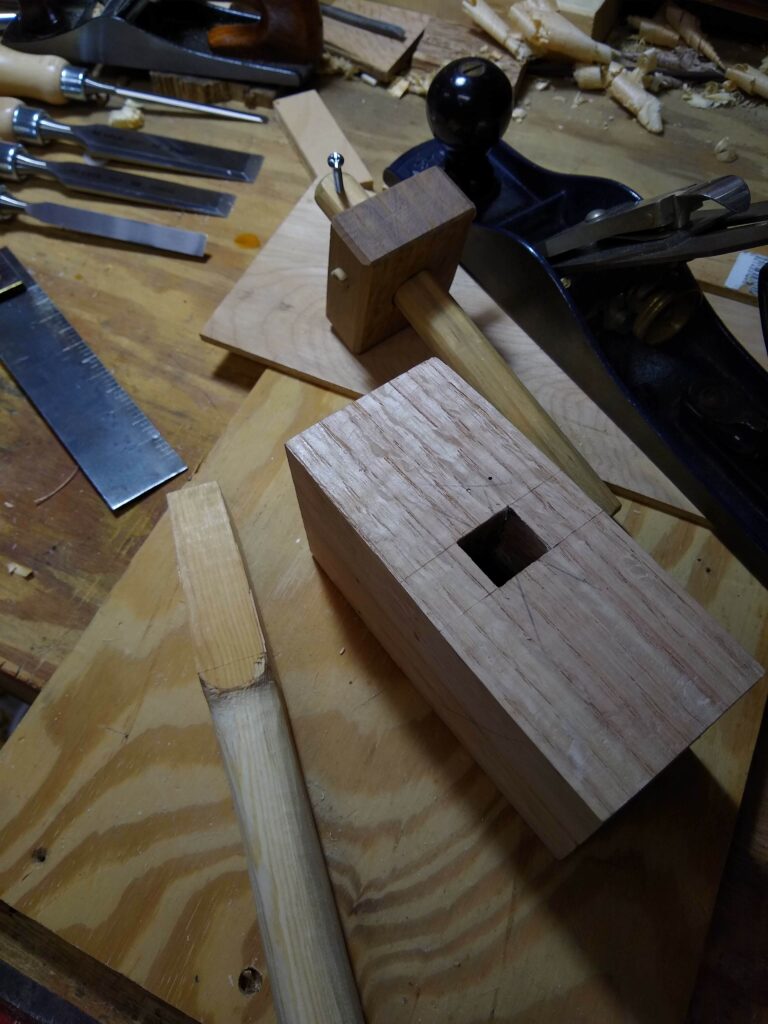
A bit more work and the handle fit nicely.
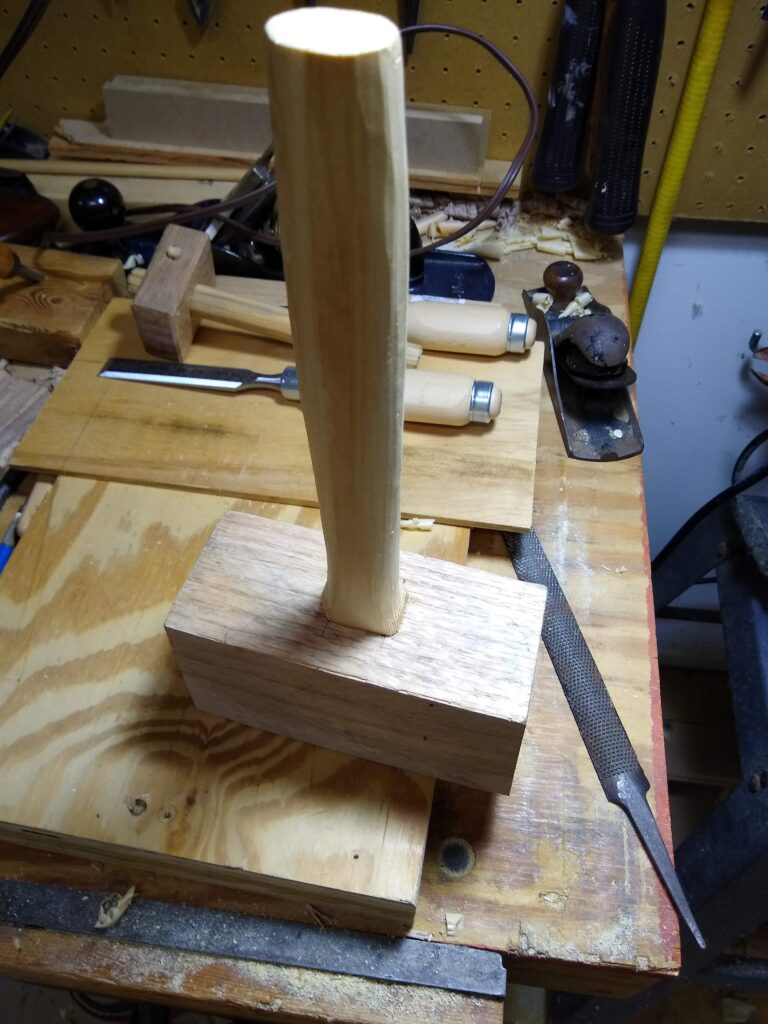
The faces were then cut at a shallow angle, which places the face of the mallet head square with the chisel when it’s struck. All the edges of the mallet head were chamfered.
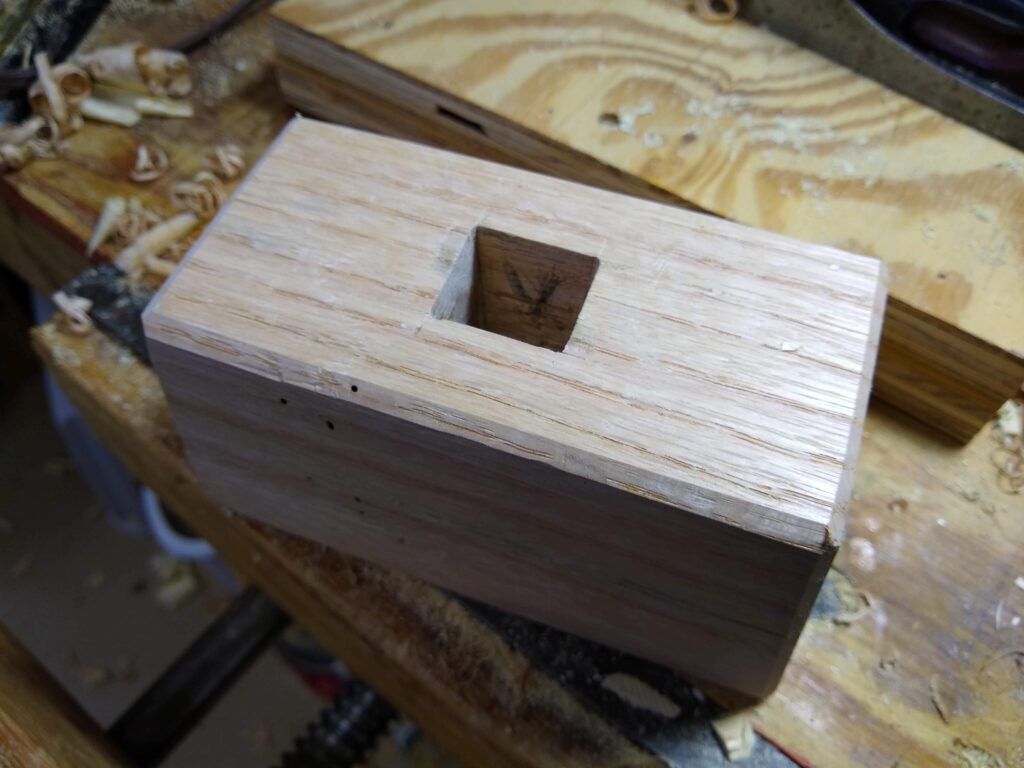
I used some persimmon to make the wedge.
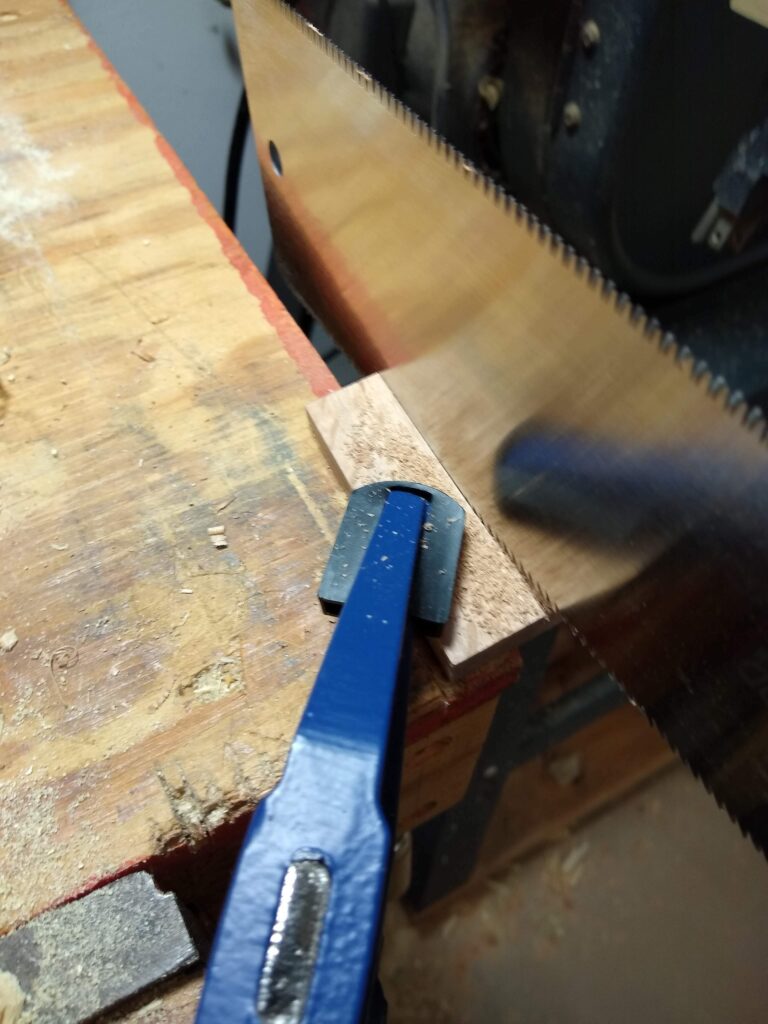
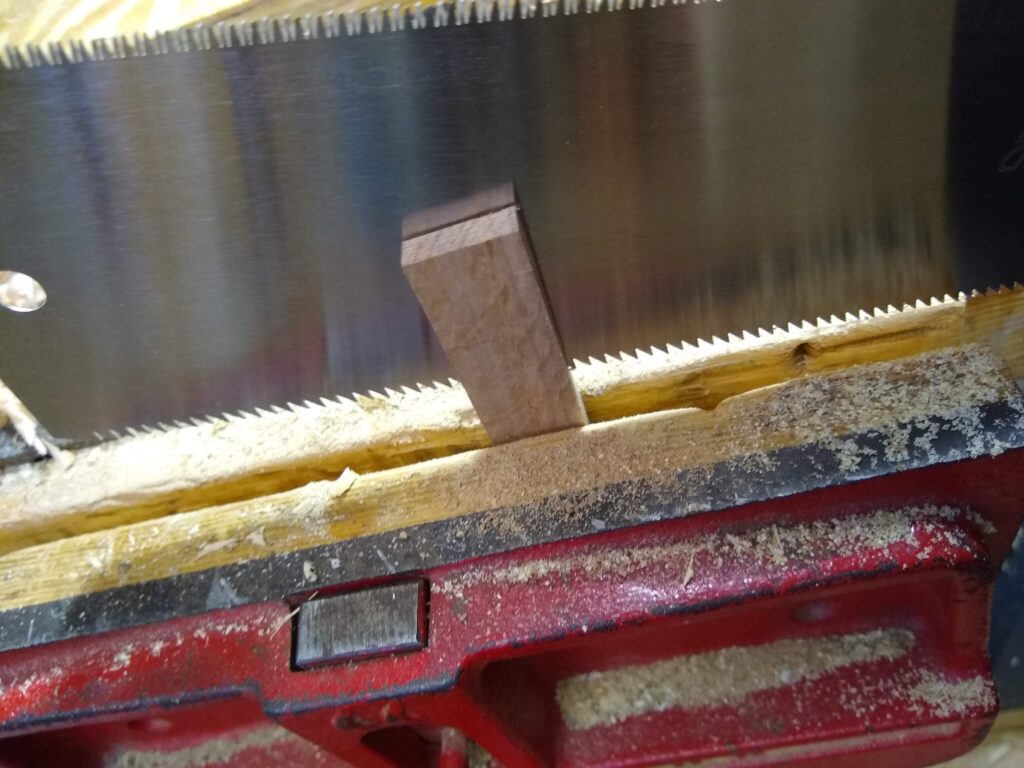
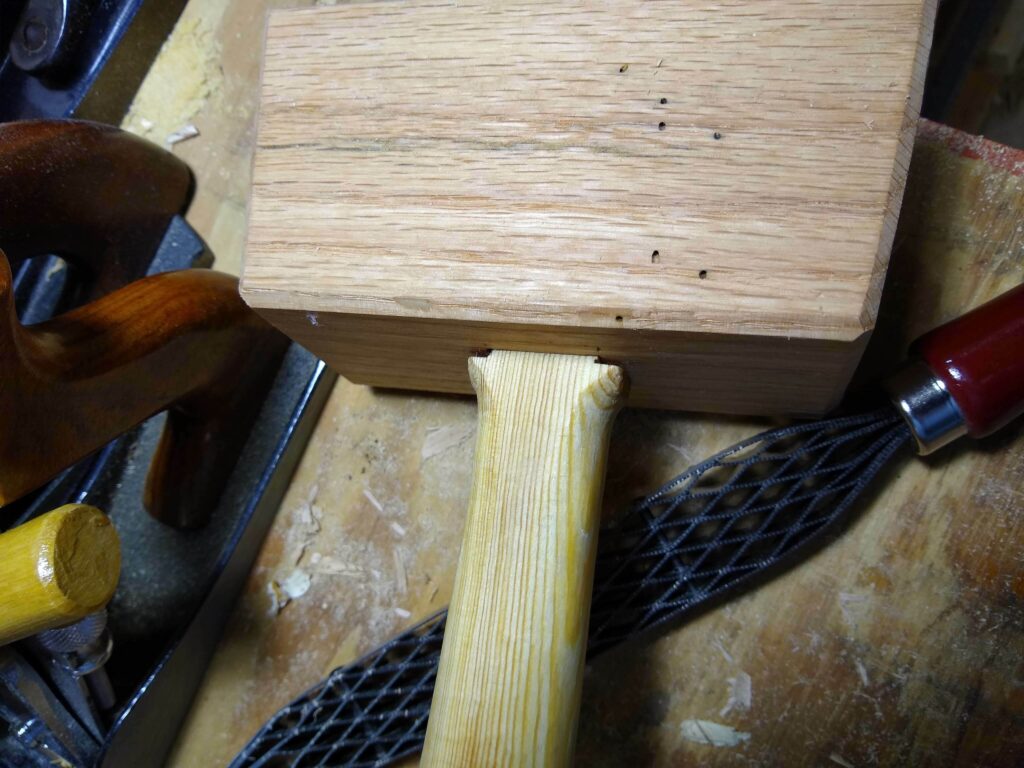
Drove the handle all the way into the head with some glue. I got a wee bit carried away seating the handle and chipped off a bit of the shoulder. Unfortunately, I did not notice this until much later, so the piece was lost amongst the chips and sawdust on the floor.
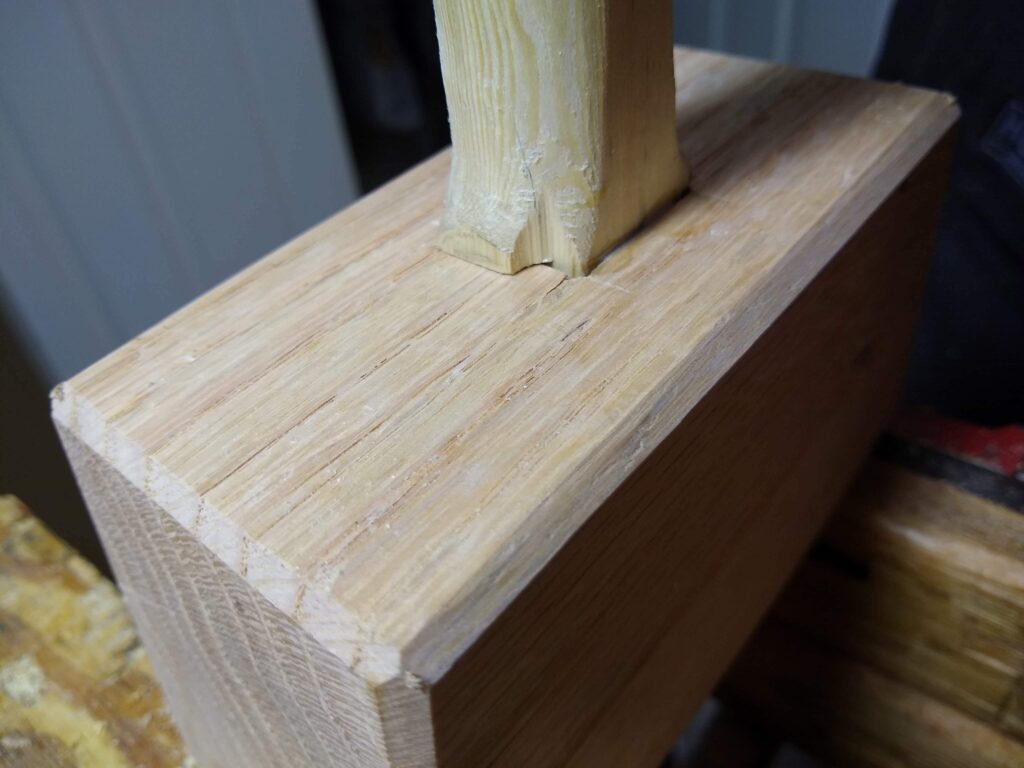
Then applied glue to the wedge and drove it in.
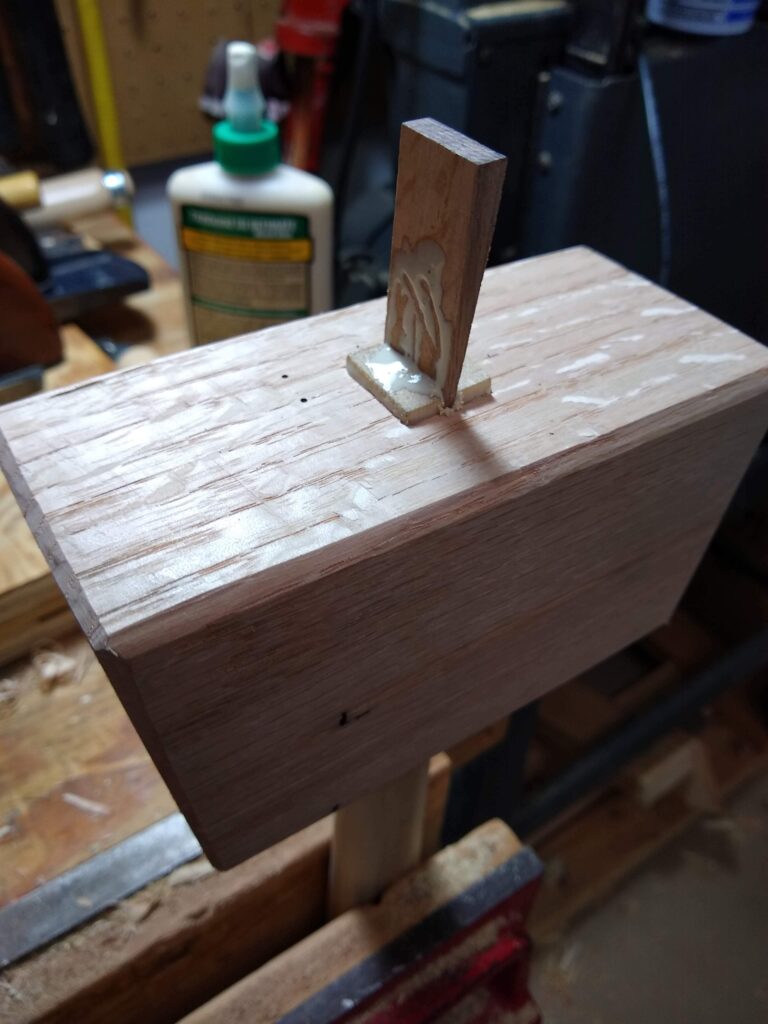
Once the glue dried it was cut and planed flush.
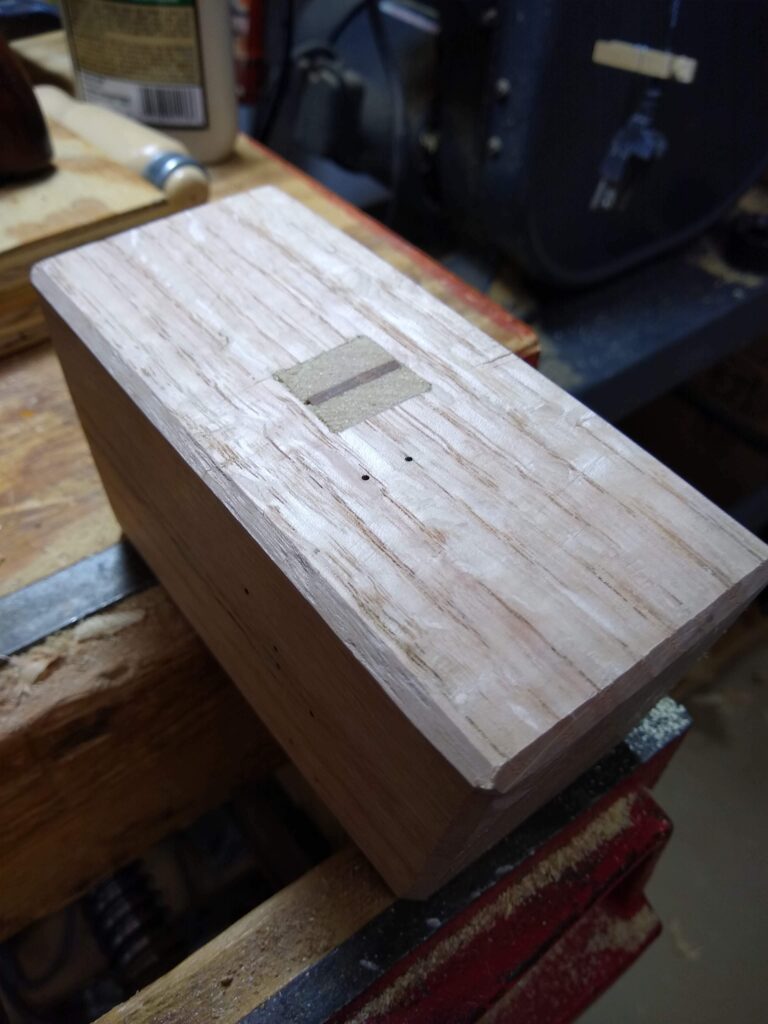
Gave it a good helping of boiled linseed oil, and… it’s a mallet.
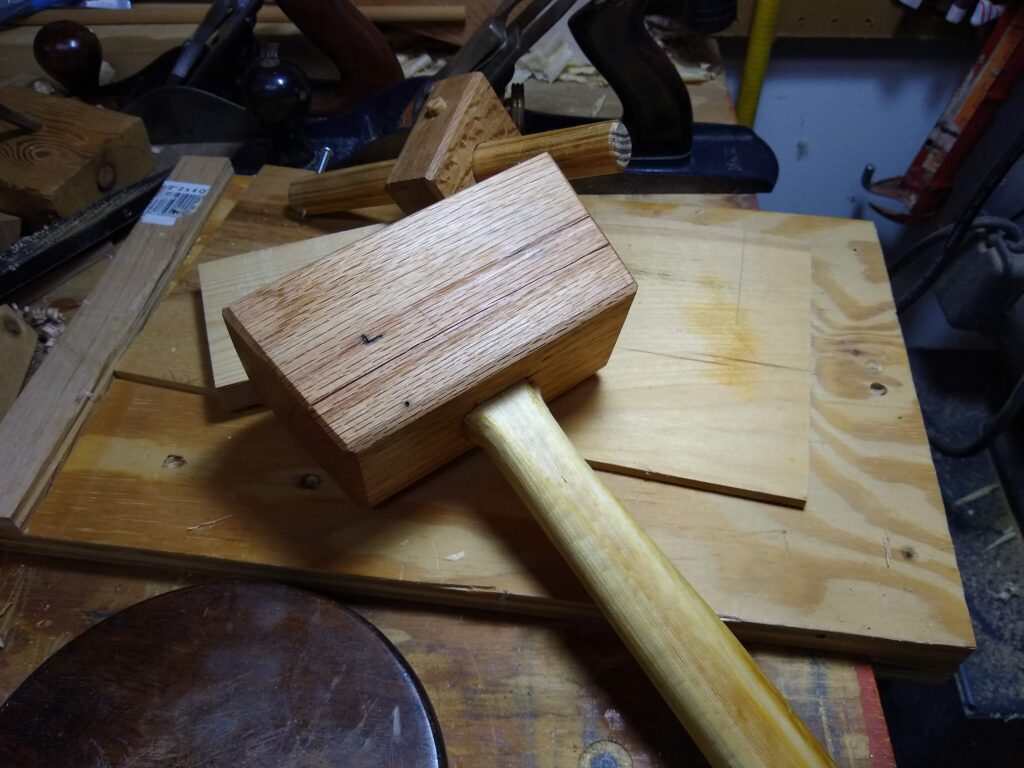
The checking that developed while it was drying has not gotten any worse, though if you look at the next photo you can see the head has shrunken noticeably since it was installed. Doesn’t affect it’s performance in the slightest.
Mallet works great. This oak is hard stuff. I’ve been using it for months and the faces still look like I just finished planing them.
