Who Doesn’t Need A Wood Mallet?

I’ve been doing some hand tool woodworking lately. Been getting by with a rubber mallet for the chisel work, but then I saw Rex Kruger’s video on building a traditional joiners mallet and decided that’s what I needed.

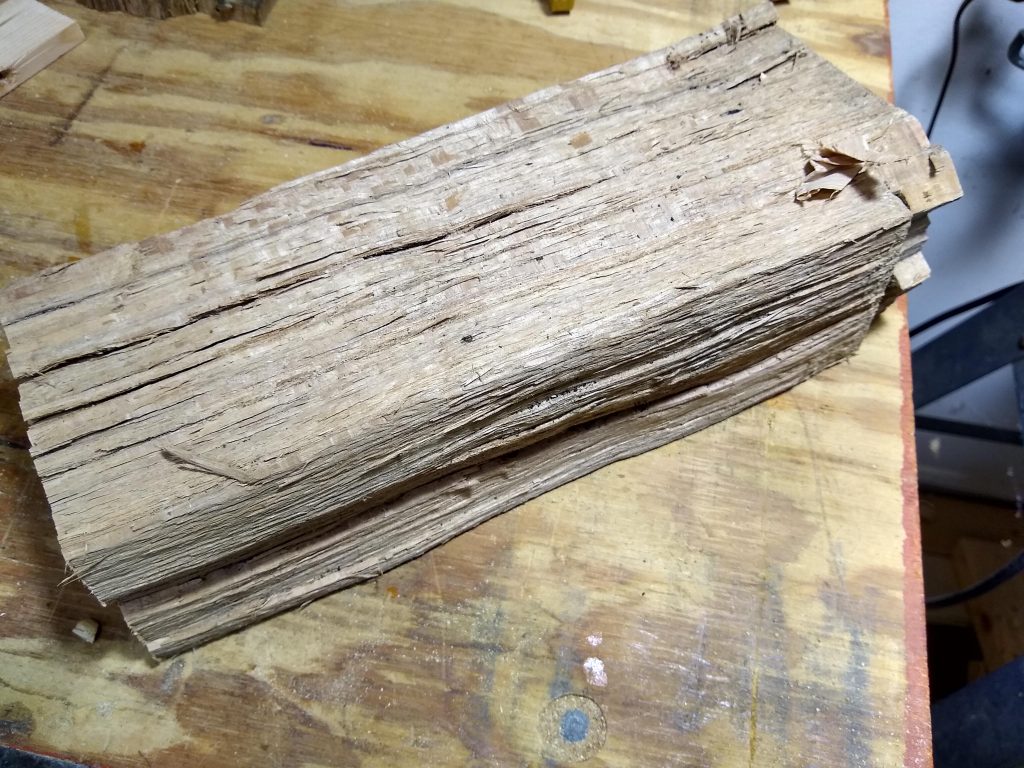
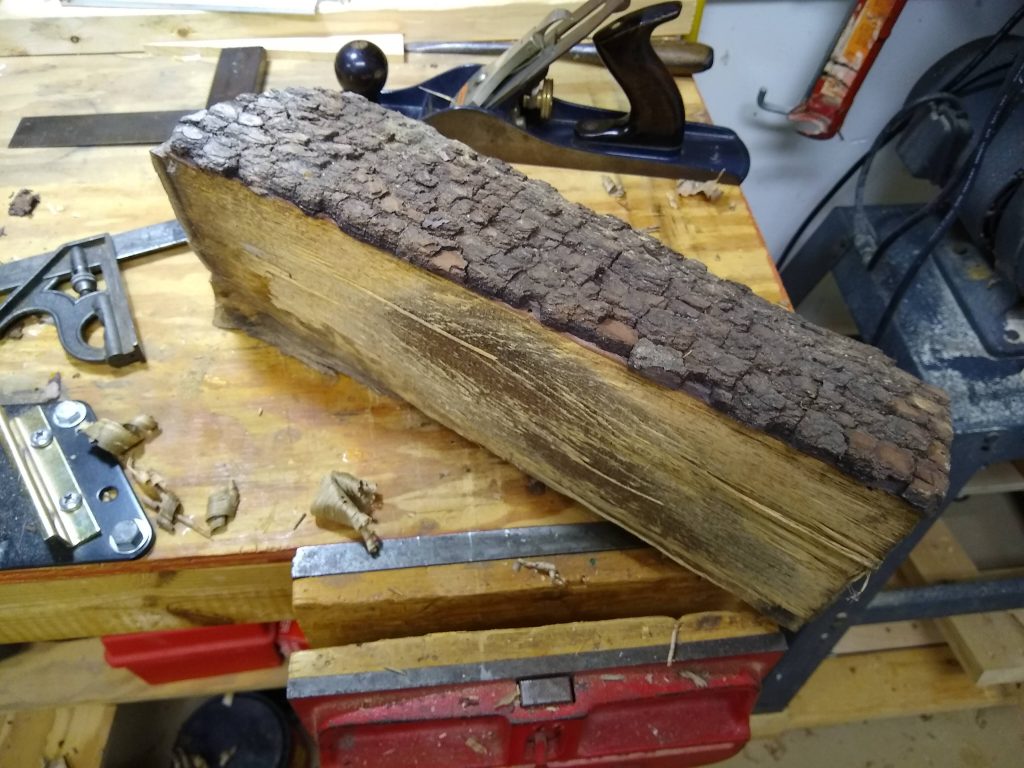
Step one: Grab a piece of firewood off the pile.

Nice bit of straight-grained oak firewood

Step two: Make a mallet head.

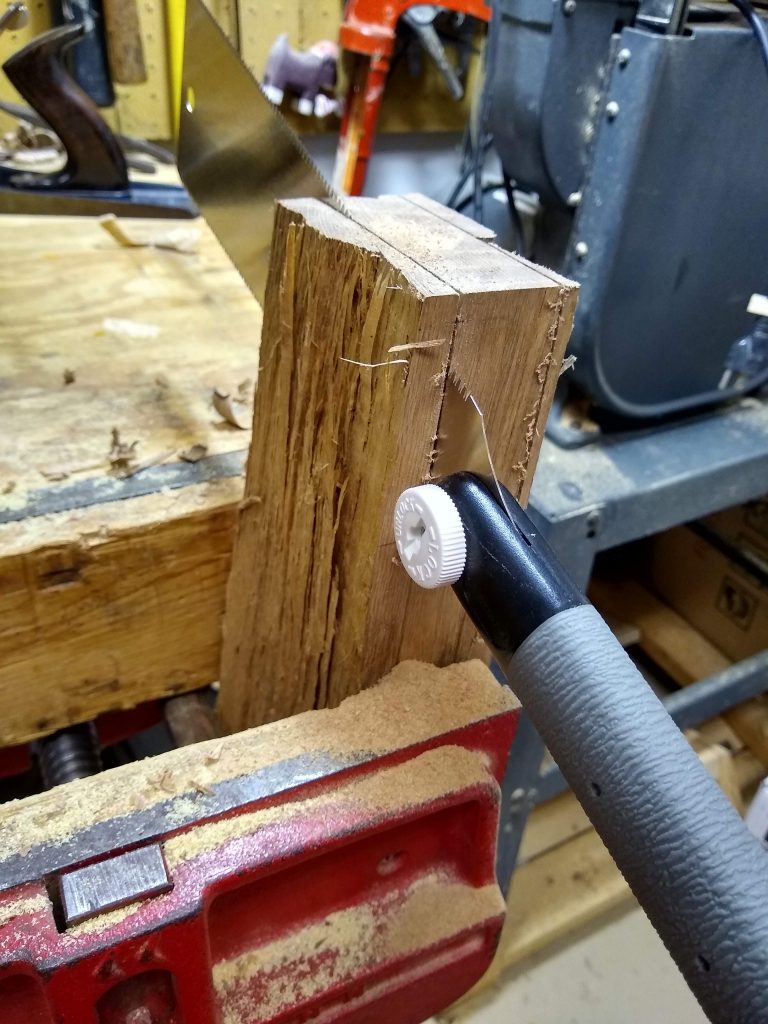
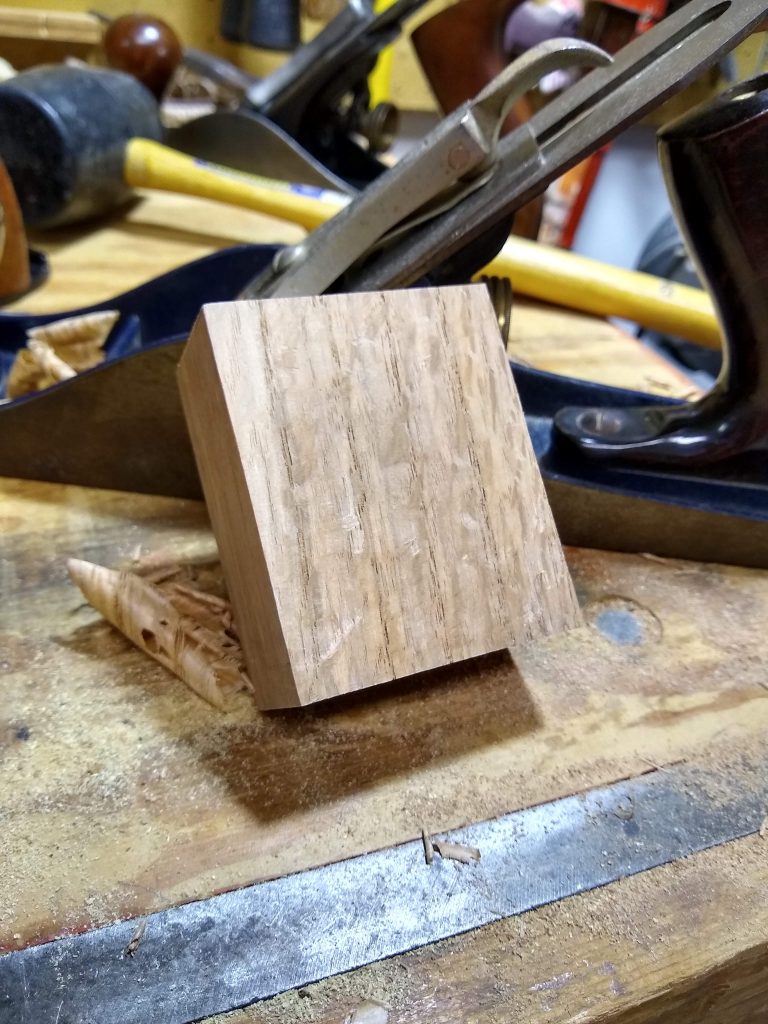
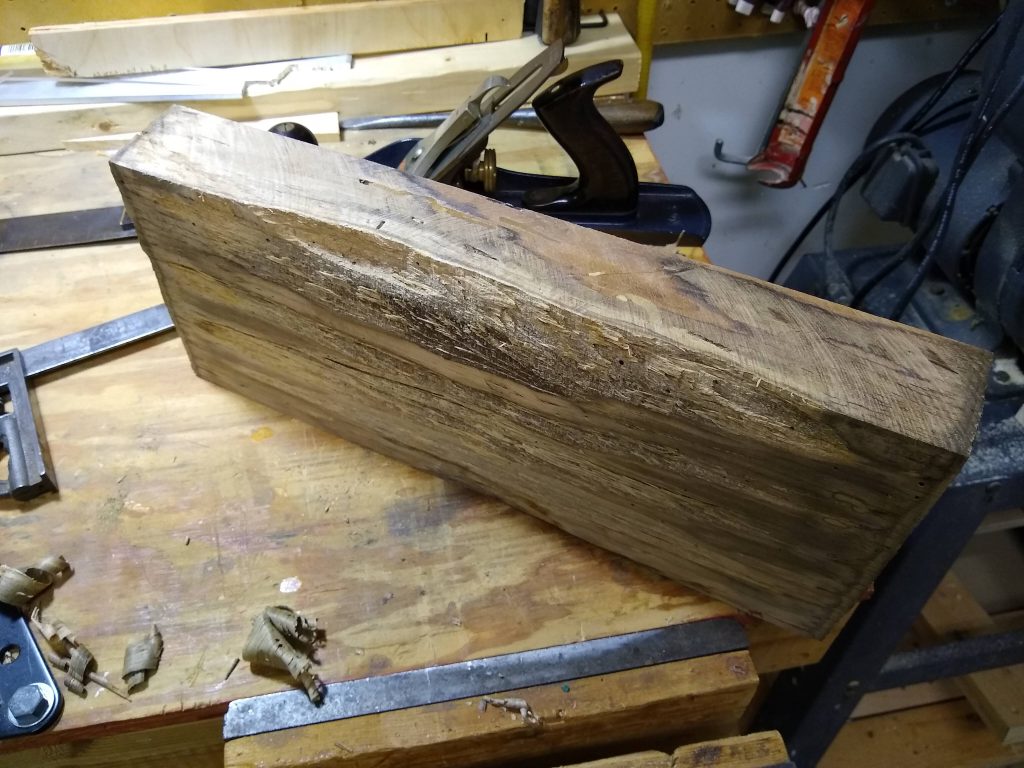
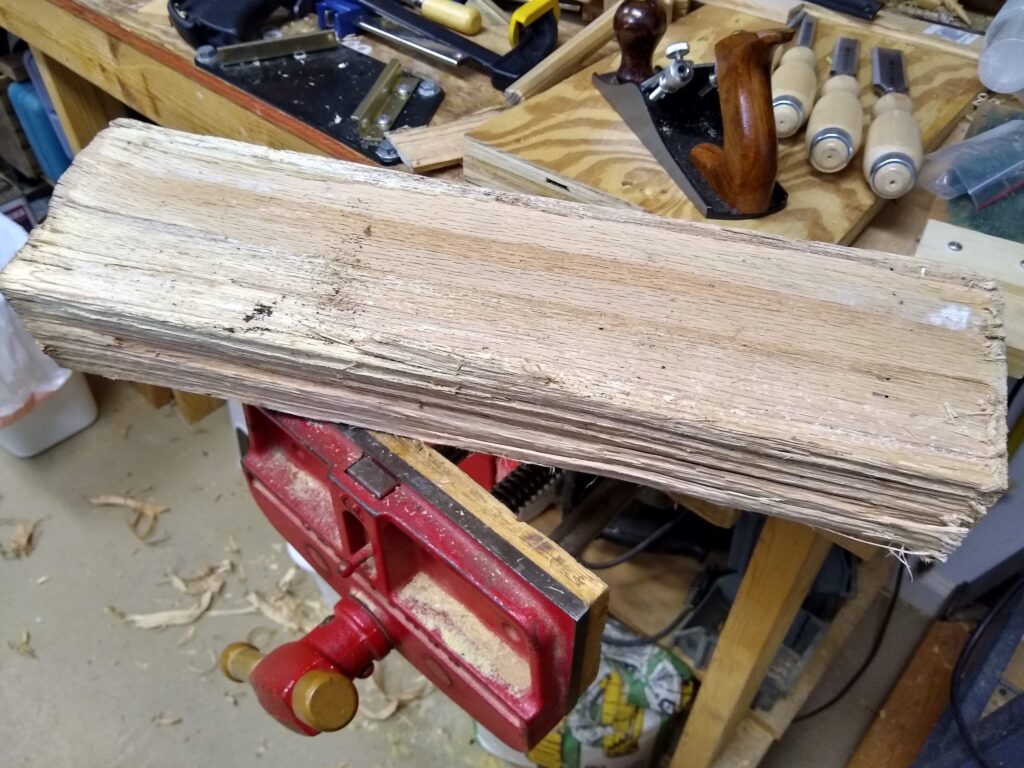
Simple, but it took a bit of time to turn that into this. A whole bunch of hand sawing and planing later I have a blank that’s square.

Squared up blank

This is the point where I noticed how wet the wood was. This blank sat on a shelf for several weeks drying… until I got impatient and used it anyway. It had developed some checking as it dried, which I ignored. It’s only firewood. I can make another.

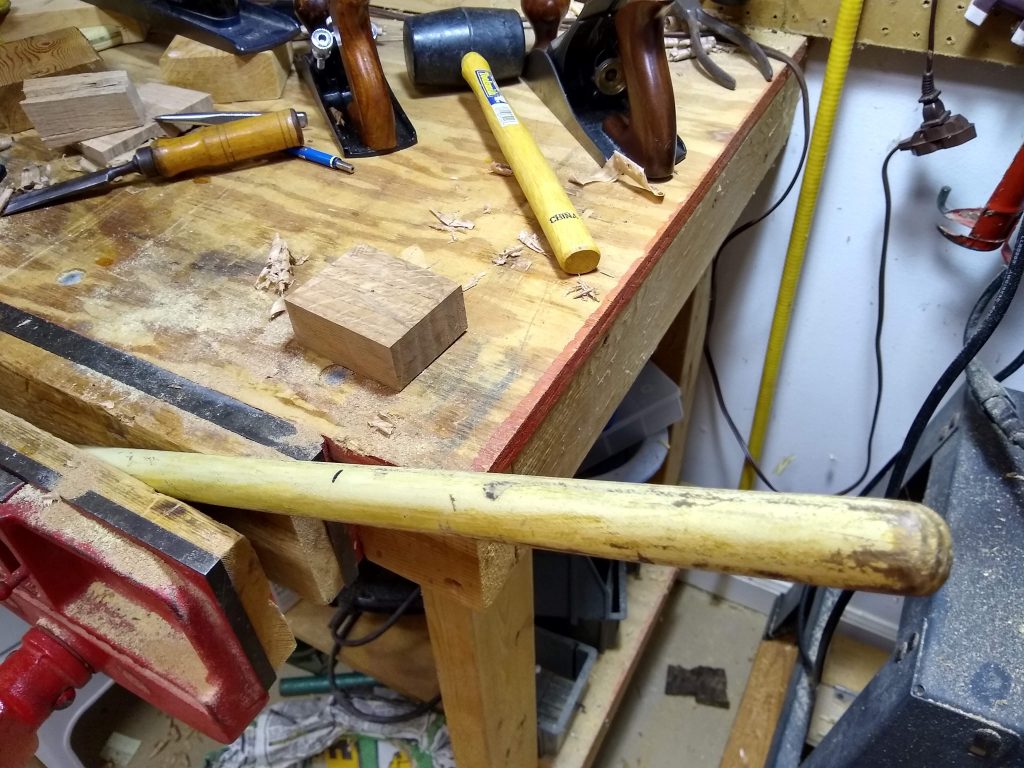
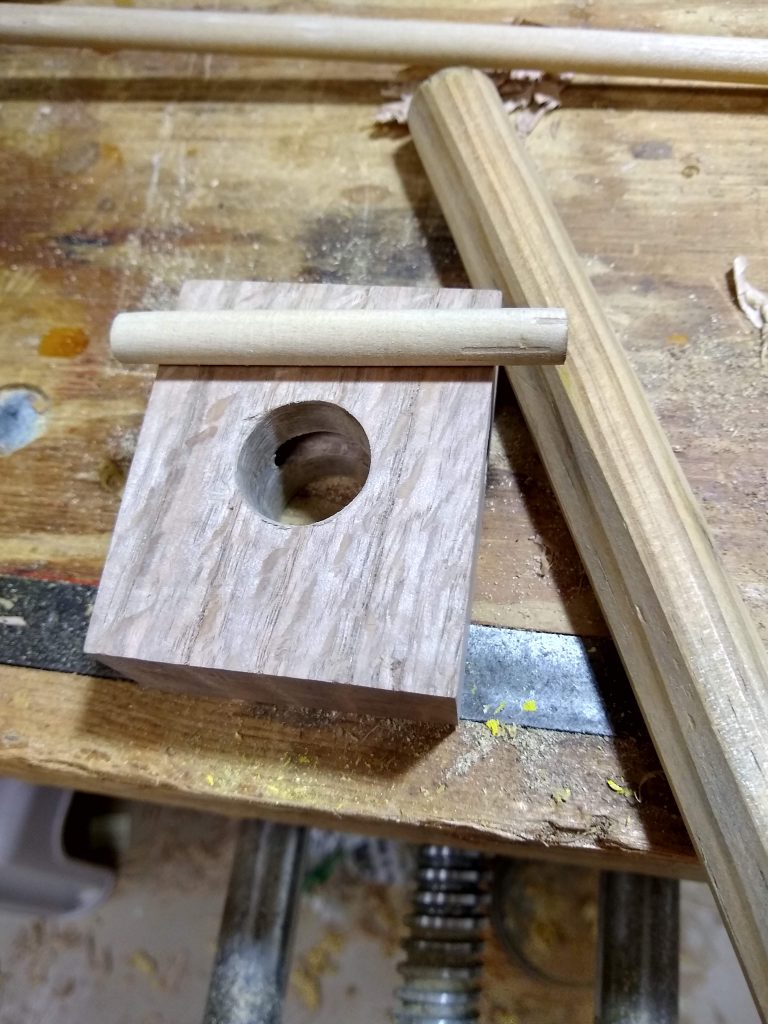
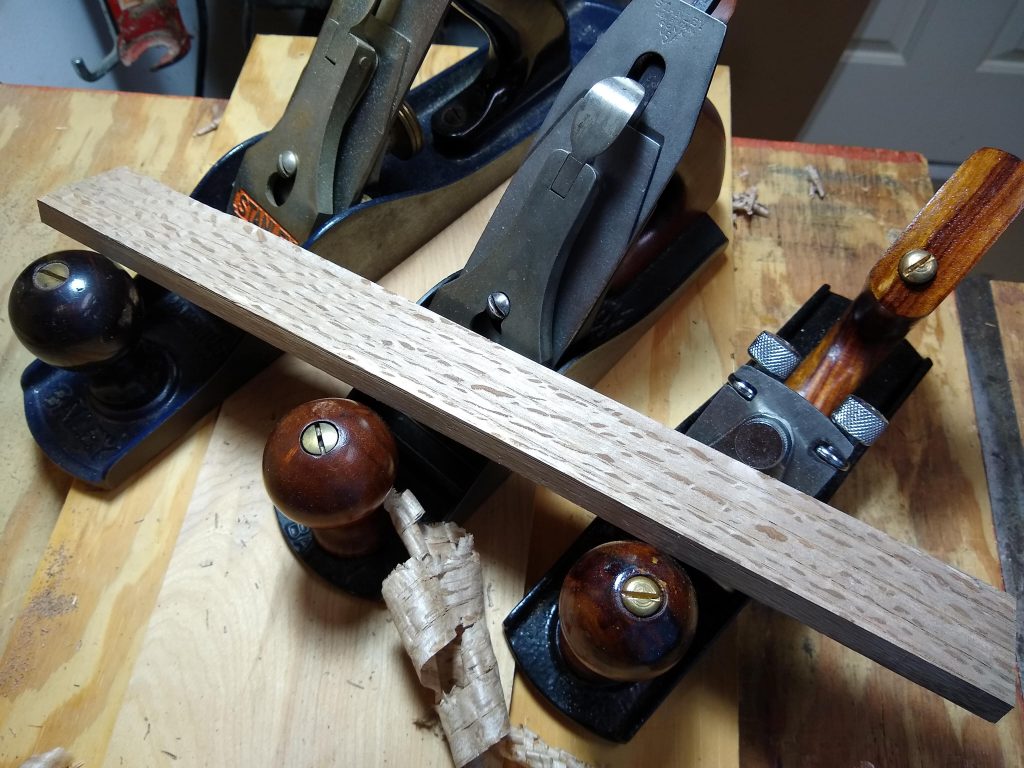
I grabbed a piece of 1×2 mystery wood I had lying around for a handle. A bit of work with the spoke shave and I had something that felt comfortable in my hand.

A comfortable handle

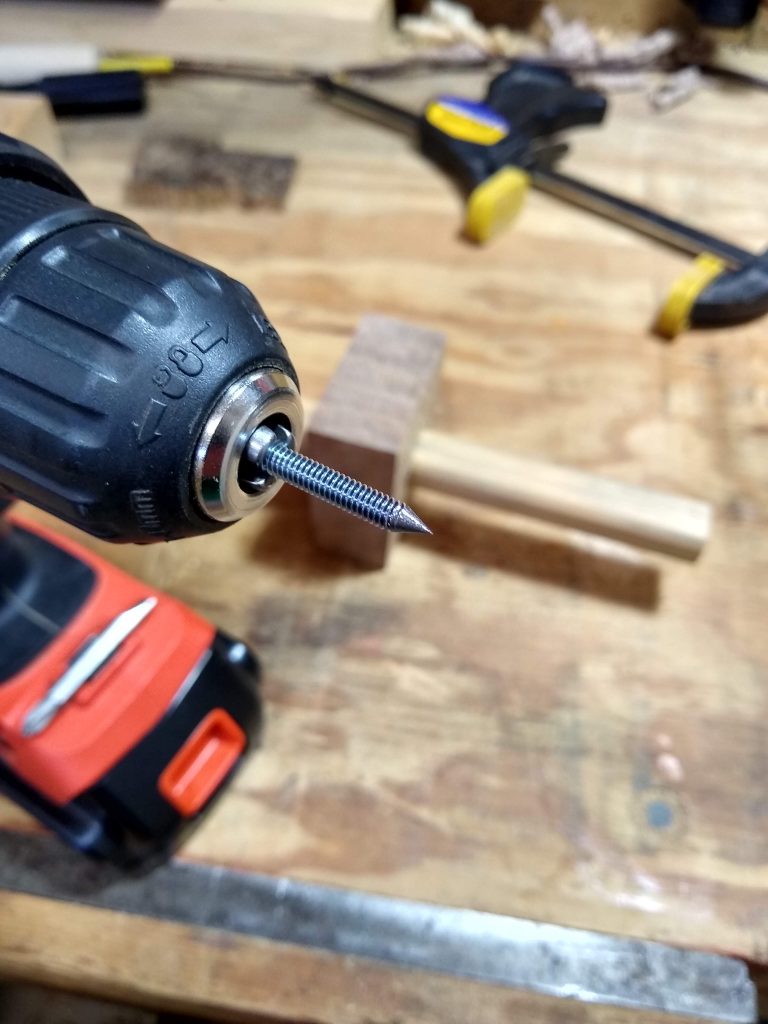
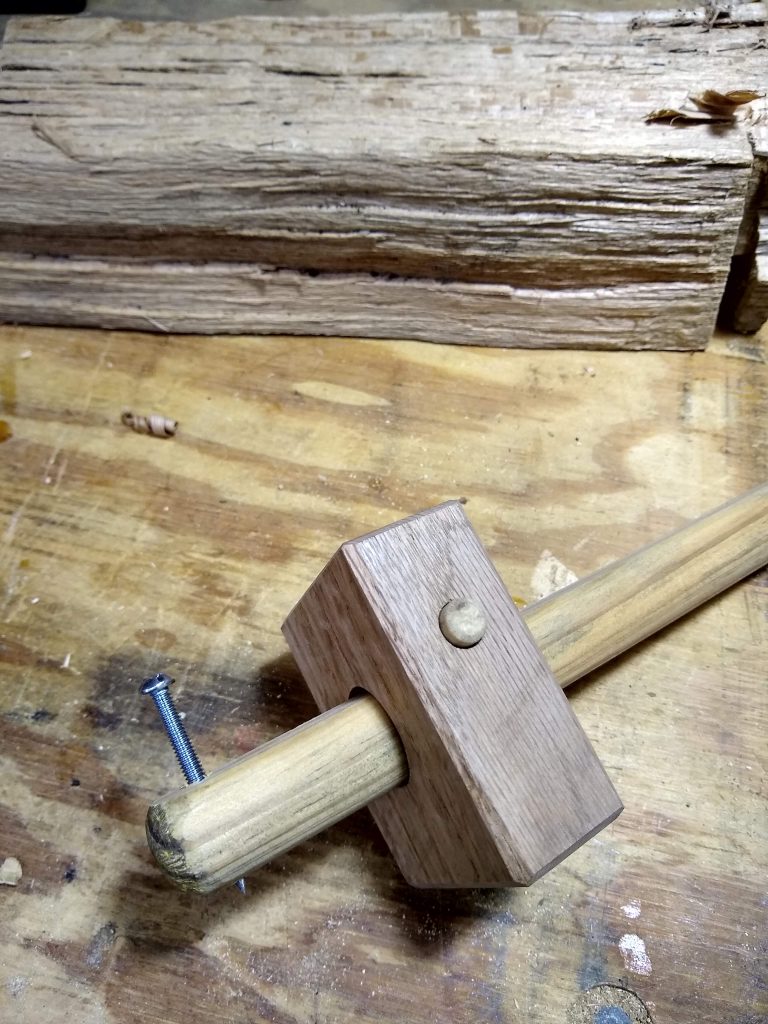
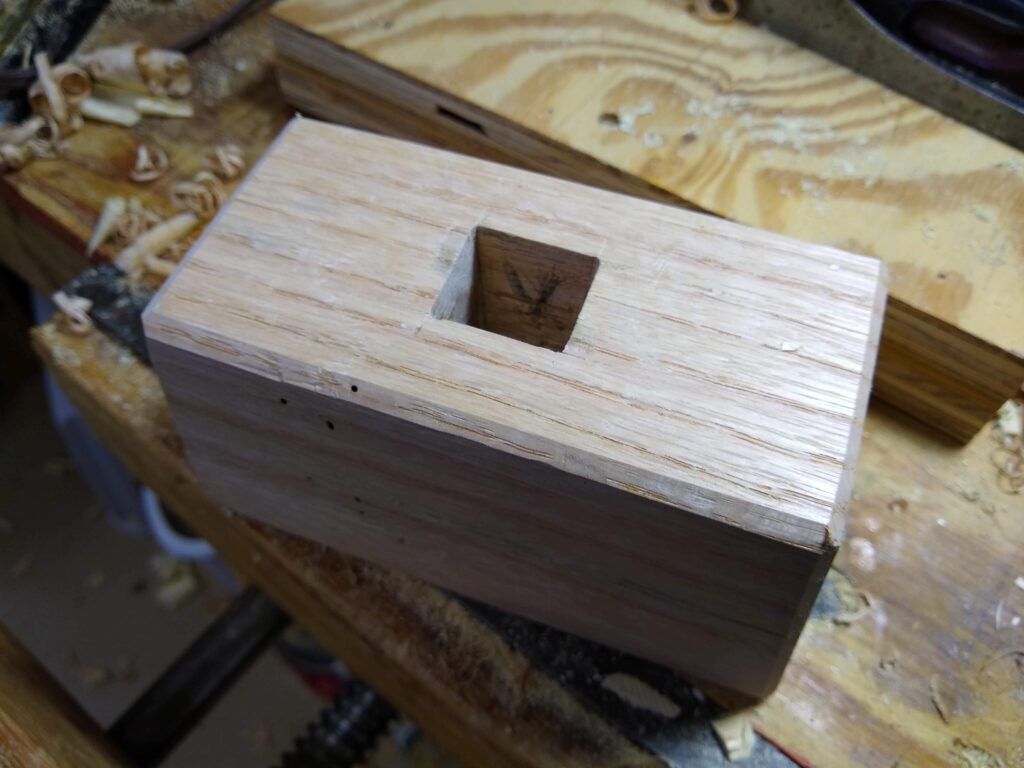
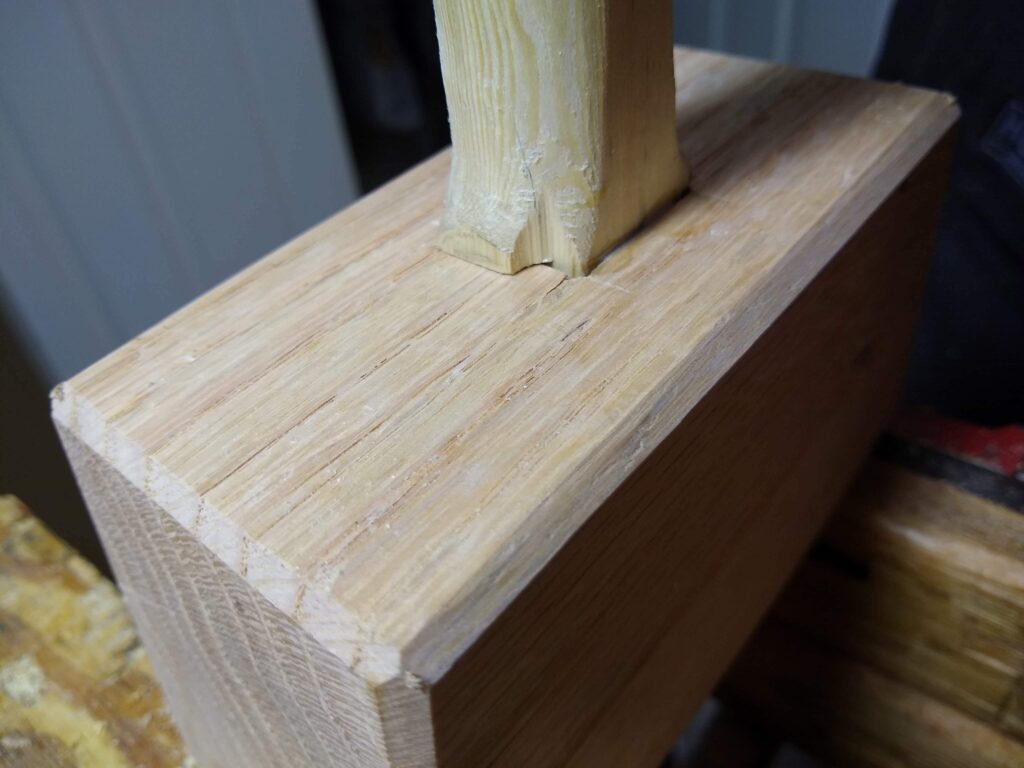
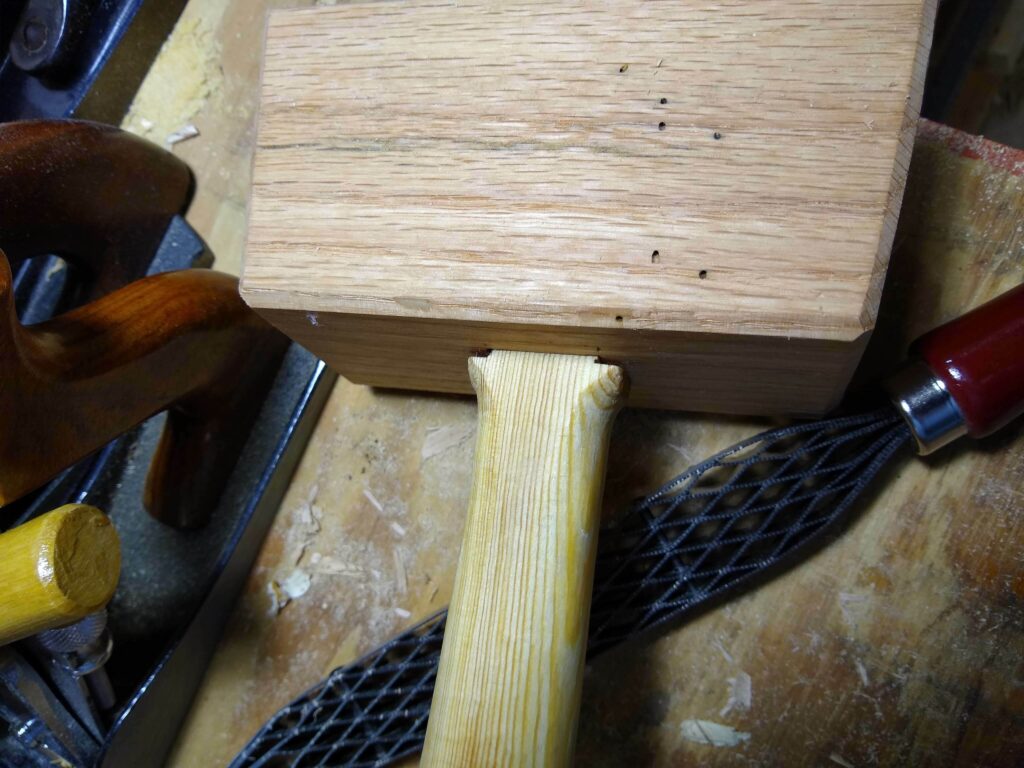
The mortise was made with a power drill and then chiseled square. There’s actually a slight taper to both handle and mortise.

Mallet head mortised

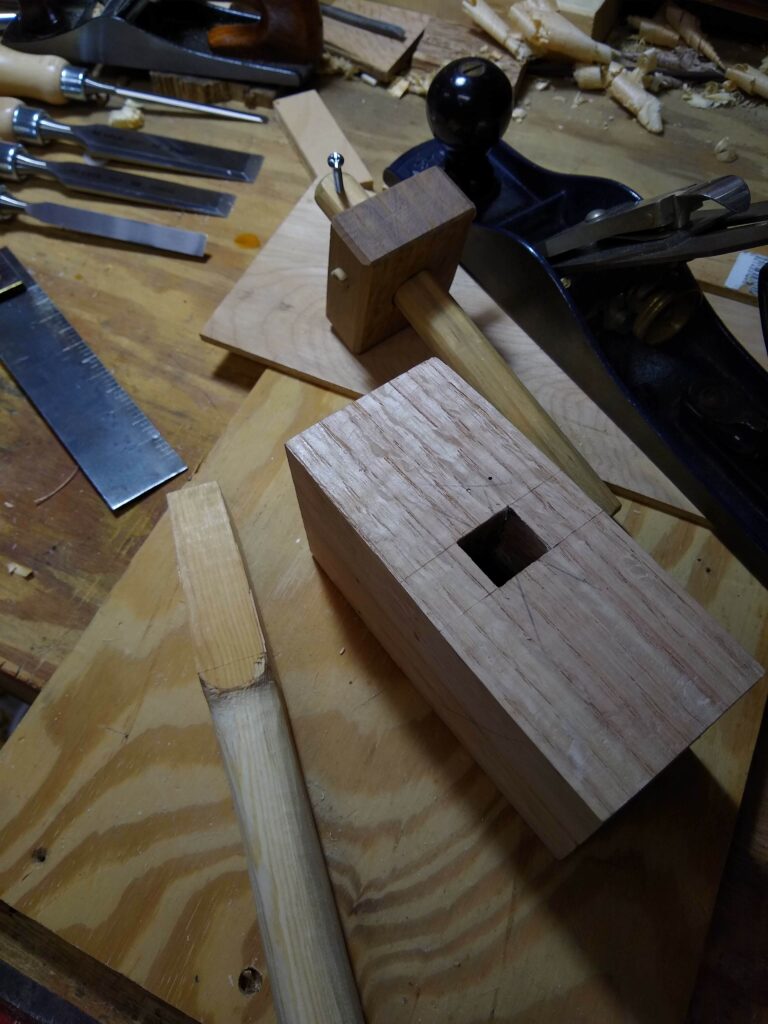
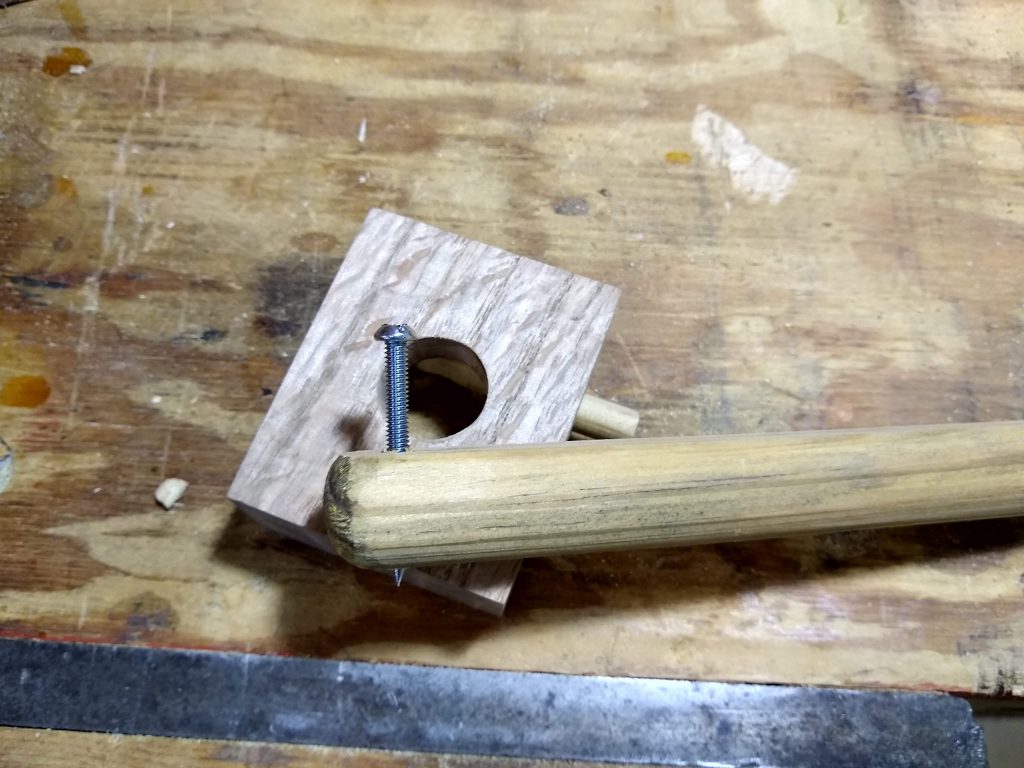
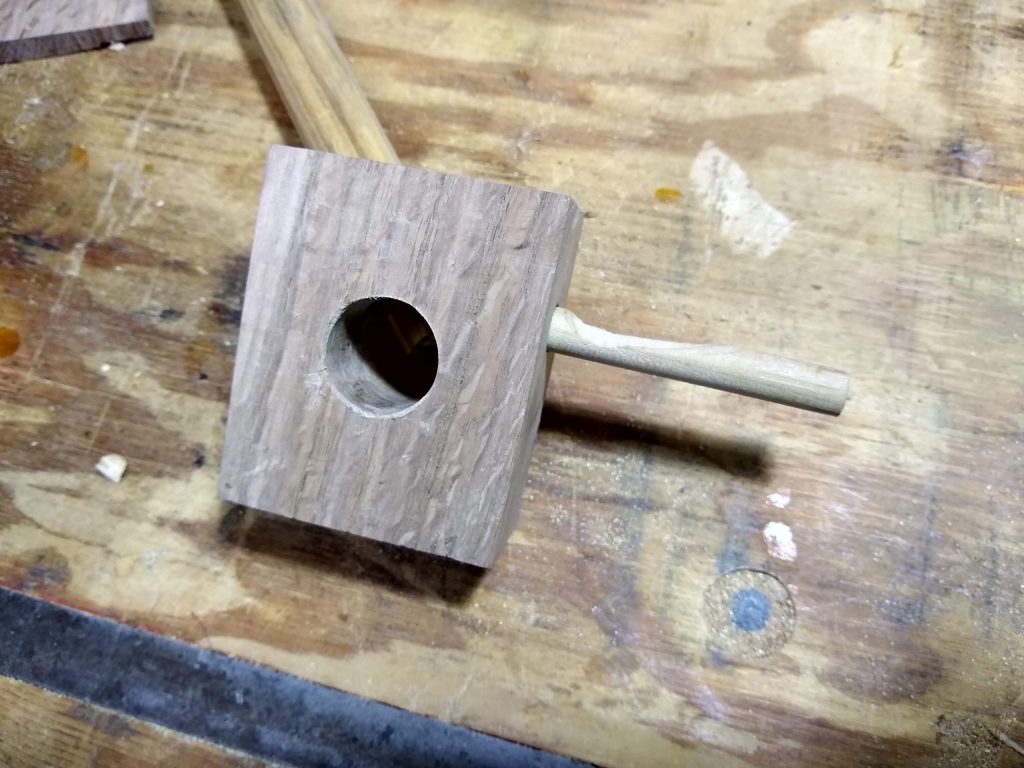
A bit more work and the handle fit nicely.

Handle fitted

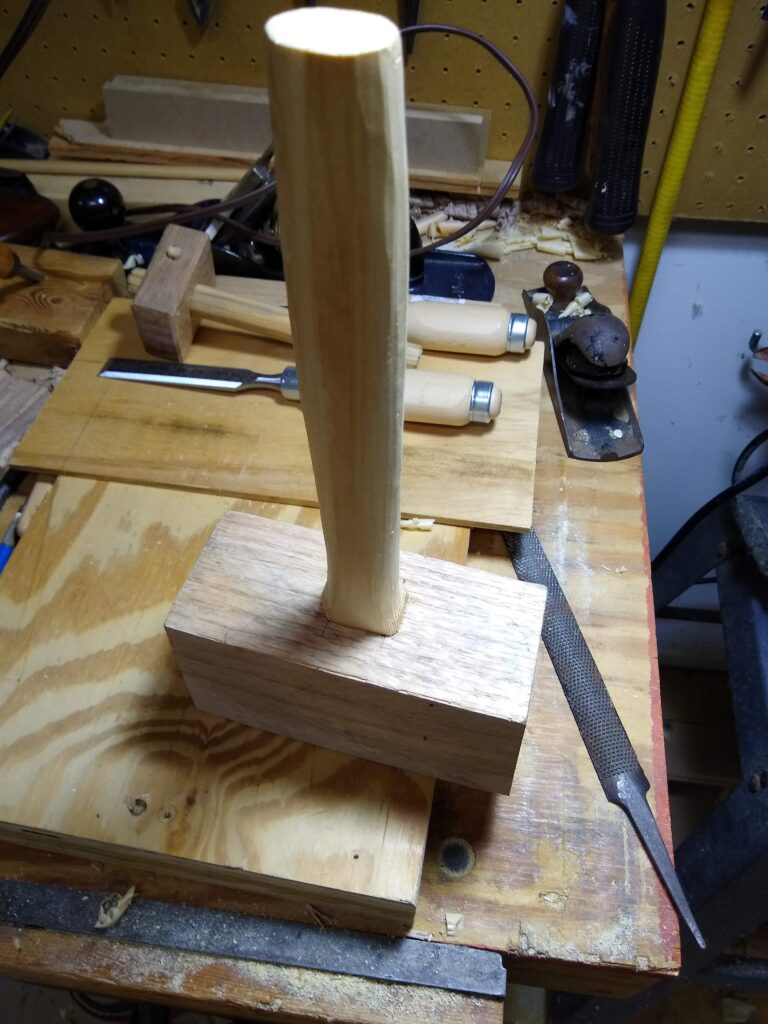
The faces were then cut at a shallow angle, which places the face of the mallet head square with the chisel when it’s struck. All the edges of the mallet head were chamfered.

Mallet head ready to attach the handle

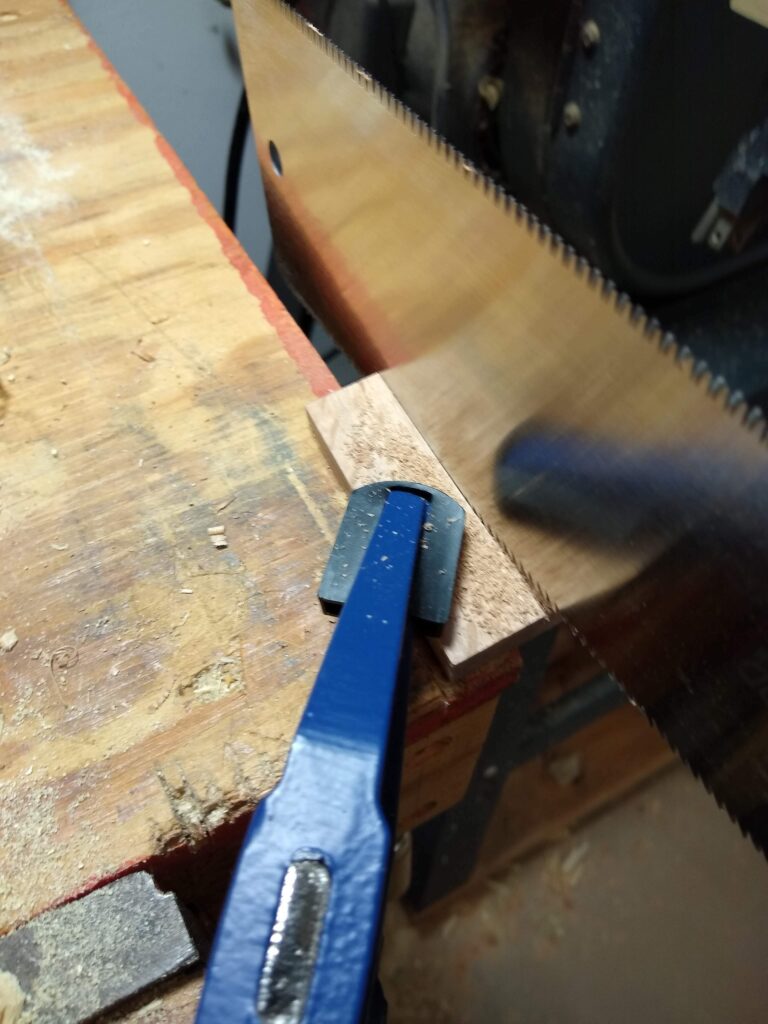
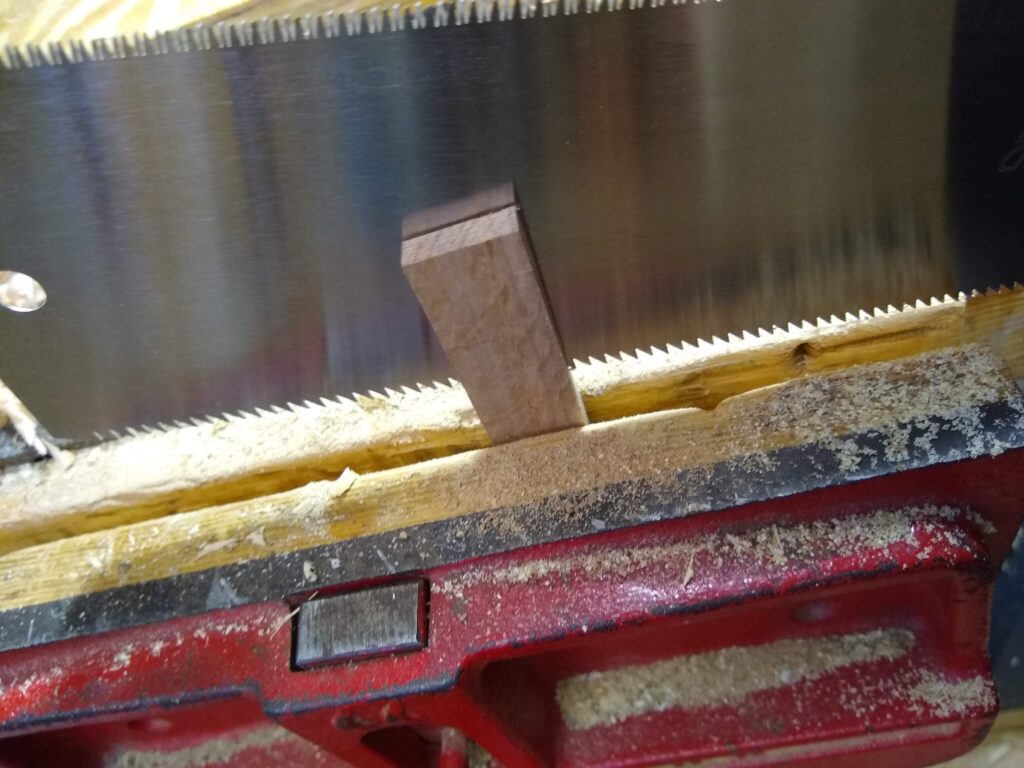
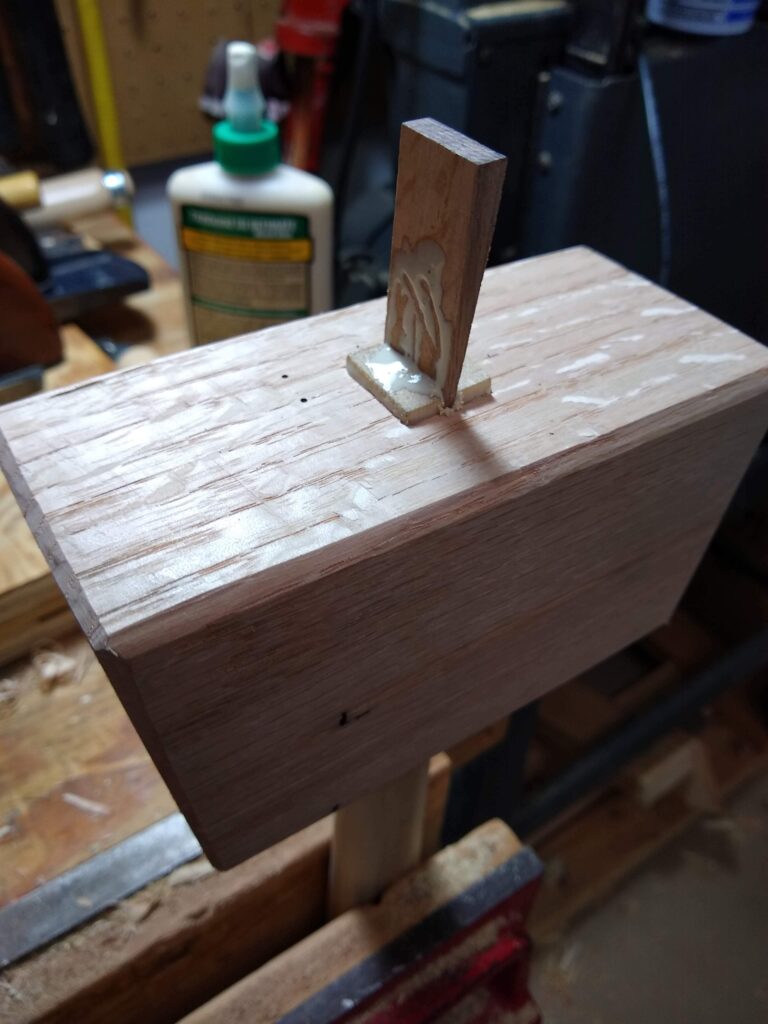
I used some persimmon to make the wedge.

Drove the handle all the way into the head with some glue. I got a wee bit carried away seating the handle and chipped off a bit of the shoulder. Unfortunately, I did not notice this until much later, so the piece was lost amongst the chips and sawdust on the floor.

Handle set in mallet head

Then applied glue to the wedge and drove it in.

Installing the wedge

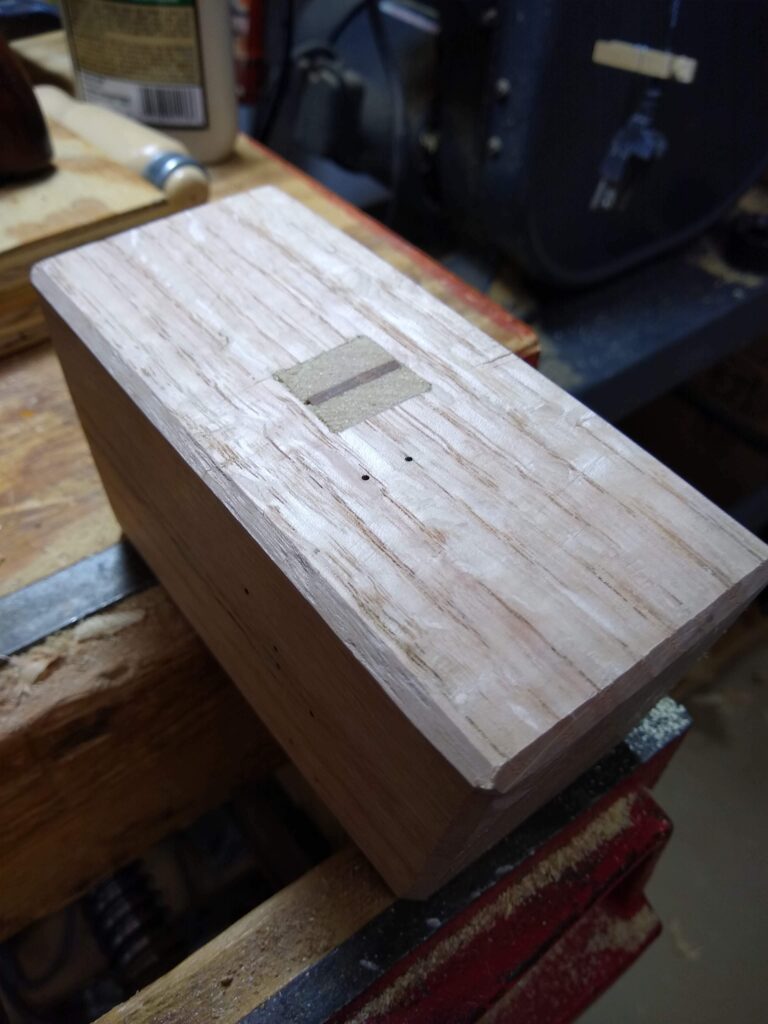
Once the glue dried it was cut and planed flush.

Finished handle installation

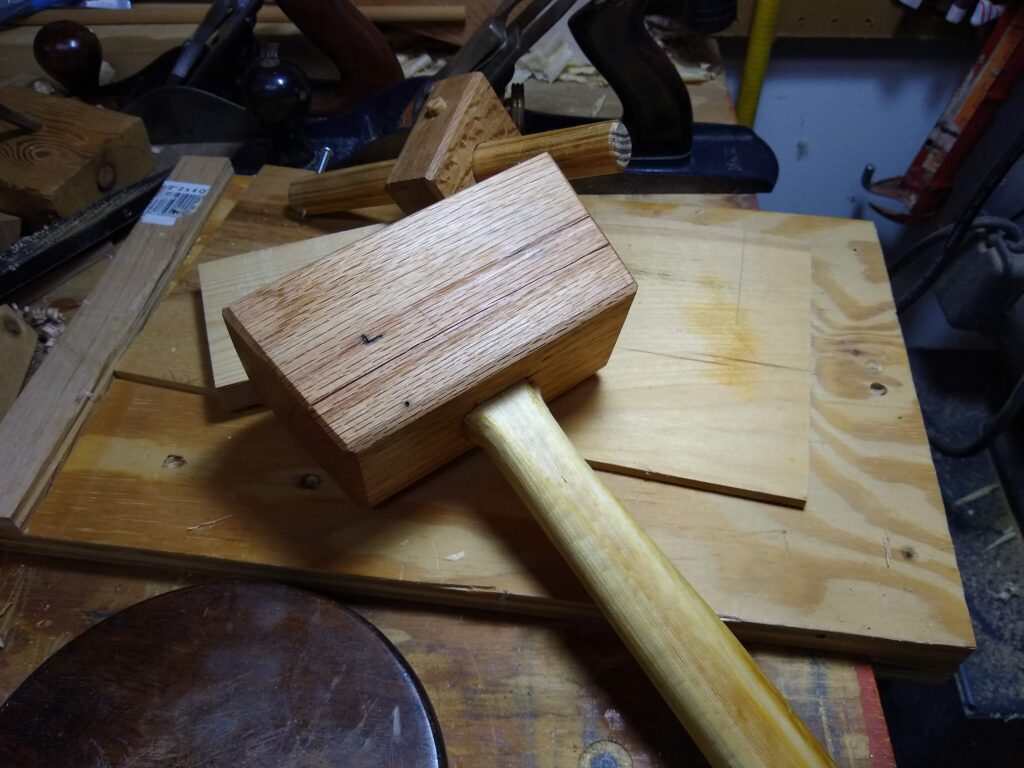
Gave it a good helping of boiled linseed oil, and… it’s a mallet.

Finished mallet

The checking that developed while it was drying has not gotten any worse, though if you look at the next photo you can see the head has shrunken noticeably since it was installed. Doesn’t affect it’s performance in the slightest.

Visible shrinkage

Mallet works great. This oak is hard stuff. I’ve been using it for months and the faces still look like I just finished planing them.

World’s Cheapest Router Plane

Home brew router plane

I was chiseling out a recess for an LED RPM display for my sim rig and realized trying to do it by hand with a chisel was just self torture, so I changed tactics and built another tool.

Nothing original here, I’ve seen it done multiple times, but it works great. I put an edge on an old beat up 1/4″ chisel, eyeballed the angle and drilled 1/4″ hole through a scrap bit of 2×4. Then pushed the chisel through the 2×4 whilst twisting it to cut a chisel-sized hole, and I had a working router chisel.

This works surprisingly well. Tap the back of the chisel with a light hammer to advance the chisel, tap the back of the block to move it backwards. Would have worked better if I’d chosen a flat bit of 2/4 (this piece has a pretty good warp in it), but it was good enough to get a consistent depth recess routed.

It worked so well I’ve added making a decent one to my ridiculously long to-do list. I may actually get round-tuit some day. 🙂

Made A Marking Gauge

I’ve run into several situations where a marking gauge would have come in really handy. After I saw Rex Krueger’s video last June I kept telling myself I should just make one. Well, I finally got a round-tuit.

I didn’t have any hardwood lying around that was thick enough, so I pulled a piece of oak off the wood pile.

After I planed a section flat on one side, I cross cut the end square, and marked out where to make the rip cuts.

I made the three rip cuts, then cross cut the piece off the end of the log to end up with a roughly 2 3/4 x 2 1/4 x 1 1/4 piece of quarter sawn oak which I proceeded to plane square on all six sides. This is the fence.

I didn’t have any large dowels, but I did have an old worn out broom with a handle a bit over 7/8″ in diameter. I still have an old worn out broom, but it’s handle is 8″ shorter than it used to be.

I had some 3/8″ dowel on hand and cut off a 3″ piece for the locking pin.

First I planed a flat on one side of the broom handle, then slowly rotated it while planing a little off each time until it would fit into a 7/8″ hole.

I then drilled 3/8″ and 7/8″ holes such that the 3/8″ hole intersected one edge of the 7/8″ hole.

I have a bin full of these small machine screws, so I chucked one up in the drill and spun it against the grinder to form a point.

Then drilled an appropriately sized hole in the piece of broomstick,

and threaded in the machine screw. Easy to adjust the length. Easy to swap out of I decide I’d rather use one ground to a knife edge instead of a point.

I messed up a bit on the locking pin. The bottom of the cutout should be flat, just clearing the flat on the bar. I went too deep, didn’t get it flat, and the bar rotates slightly before locking. An easy fix – I have several more feet of 3/8″ dowel. Making another one that’s right will take about ten minutes.

I then chamfered all the edges to make it comfortable to hold.

The final product works great, and being made from scraps, cost absolutely nothing. You can operate it with one hand. To lock it really tightly just give the pin a light tap on the bench. Another light tap on the other side unlocks it.

Scrubbing a Windsor Plane

So, I picked up an old #4 Stanley on Ebay for $40 intending to set it up as a scrub plane, but ran into a problem. Rather than being an old junker, aside from the iron suffering some abuse, the plane was in absolutely perfect condition. Then I made the mistake of putting an edge on the iron (had to grind off almost 1/8″ to get rid of the dings and chips) and trying it… I love this plane. No way I’m hacking it up to make a scrub plane.

Back to the drawing board. I’d seen a Stumpy Nubs video years ago where he’d used a Harbor Freight No. 33 Windsor to make a scrub plane, so, $12 (with coupon) later I’m the proud owner of an absolute piece of junk “smoothing” plane.

You know those pretty photos you see on the HF website? Well, this is what you actually get.

If they’d cut the arc in the iron the other way around it’d have saved me some time, but after some work on the grinder, an old, beat up, very not flat oil stone, some sandpaper and leather strop, I’ve got the iron set up with a 3″ radius arc and decent edge. A bit of file work to open up the mouth a bit, and I’ve got a scrub plane that rips through rough wood just fine.

The sides of the iron were so nasty I took a file to them in self defense. Out of the box, they were sharper than the edge.
<sarcasm>Nice, flat iron, right from the factory.</sarcasm>

Yeah, it’s a piece of junk, but you can turn this $12 turd into a very decent scrub plane.

I split this off a piece of firewood and squared it up in a few minutes with my new scrub plane. Just a few passes with the #5 to flatten it and I’ve got something ready to use.

Plane Iron Killer

I just got a ’round-tuit’ and started processing a few pieces of Persimmon my step-son gave me a couple years ago. Not sure what it’s gonna be, but it ain’t gonna be nothing while it’s just split firewood

Planing this stuff is like planing rock… I’ve never had anything kill the edge on the plane iron this fast. I’m sure it doesn’t help that the outer layer had dirt embedded in it that wouldn’t scrape off.

Took hours to go from something like this…

To something like this…

And I’m not done yet, this is just as far as I got before I needed to quit for the day, as you can see looking at the other side.

It took a LOT of planing before it was flat enough to safely put it on the table saw to get a square edge. This is where a roughing plane would have been a wonderful thing to have. Would have been much better off re-sawing on the band saw if it fit. Would have been a lot easier with rip blade that wasn’t fifty years old too.