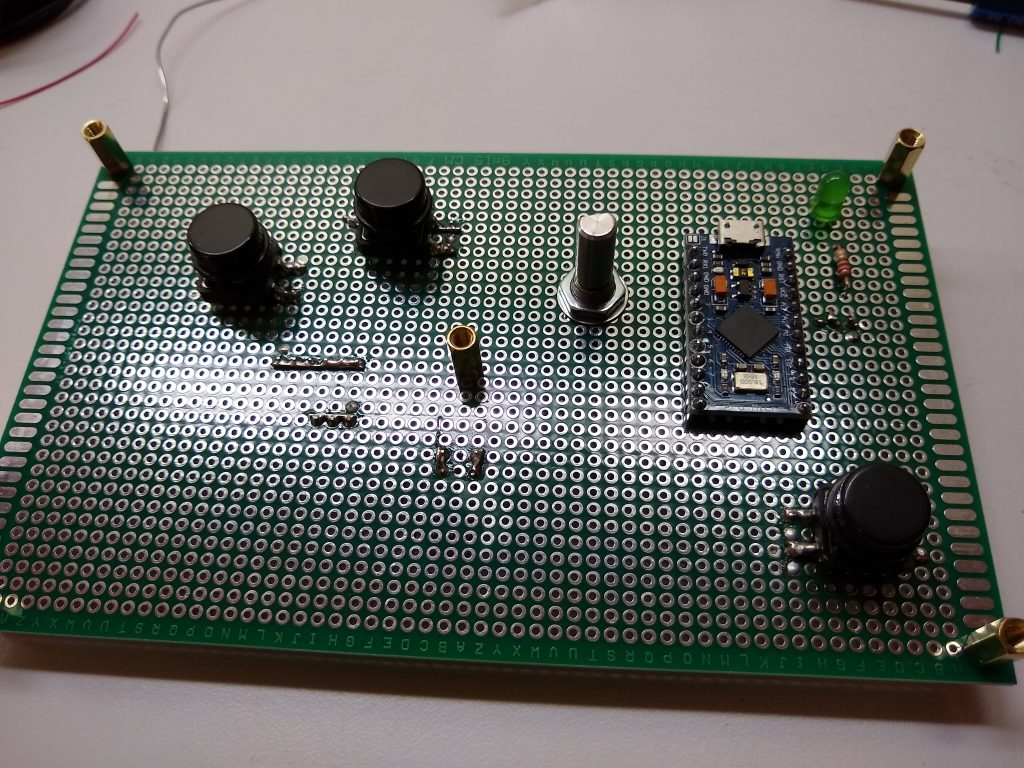
So, several months later… (what am I talking about?)
I finally get ’round to doing more with the LHSWBBT. Going ultra-cheap isn’t the fastest way to get something done. Do you spend $10-$15 on a part or order ten of them for $1.50 and wait 4-6 weeks for it to show up? If you’re going ultra-cheap, you take option number two.
When combined with mistakes, like not noticing the the perf-board you ordered has smaller than normal through holes, and you can’t install the PC mount switches, it takes even longer.
Putting It Together

First step, mount the switches and encoder to the PC proto-board. Layout was detailed and scientific – I set my hand on a piece of paper and marked where my fingers fell. Drilled the hole for the encoder and soldered the switches to the board.

I had a large sheet of acrylic in the shop suitable for the project, from which top panel was cut on the band saw. This leaves somewhat nasty edges on the acrylic, but a Stanley No.5 bench plane set for a thin cut does an excellent job of cleaning up, straightening and squaring up the edges.
I located the mounting holes for the acrylic by taping the PCB to it and drilling through the existing holes in the PCB. Then I installed extra long standoffs in PCB so the acrylic could be positioned over the mounted switches, and marked the rough center of each with a Sharpie.

Knowing I wouldn’t get the alignment close enough if I drilled final sized holes, I drilled starter holes and used a Dremel with a router base clamped upside down in the vise to open up the holes a bit at a time until they fit.

Hooking Everything Up
I went for crude but simple, and easily modifiable. I installed Berg pins for the connections to every component and wire-wrapped the whole thing. Fast and easy, and it makes it super simple for the LHSWBBT to evolve over time.

It may be ugly, but it’s fully functional.

And yes, it does work. Still needs some updates to the software. I’ve given up on getting the Arduino library to work with more than three mouse buttons, and have decided that the thumb button would be more useful as a modifier key such as Control. I haven’t updated the Button class to be able to transmit keyboard events as yet, so the thumb button isn’t doing anything.

As you have probably noticed, there isn’t any case for this thing yet. It’s just sitting on stand-offs. I plan on wrapping it in a wooden frame whenever I get another ’round-tuit.
