
I’ve run into several situations where a marking gauge would have come in really handy. After I saw Rex Krueger’s video last June I kept telling myself I should just make one. Well, I finally got a round-tuit.
I didn’t have any hardwood lying around that was thick enough, so I pulled a piece of oak off the wood pile.
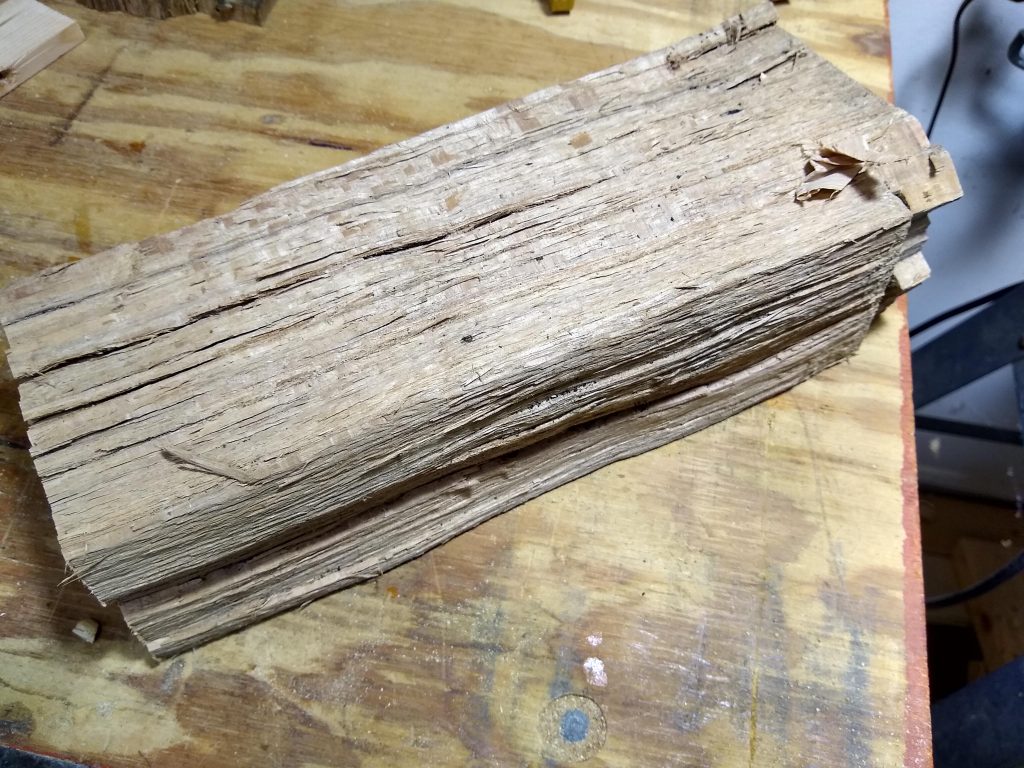
After I planed a section flat on one side, I cross cut the end square, and marked out where to make the rip cuts.
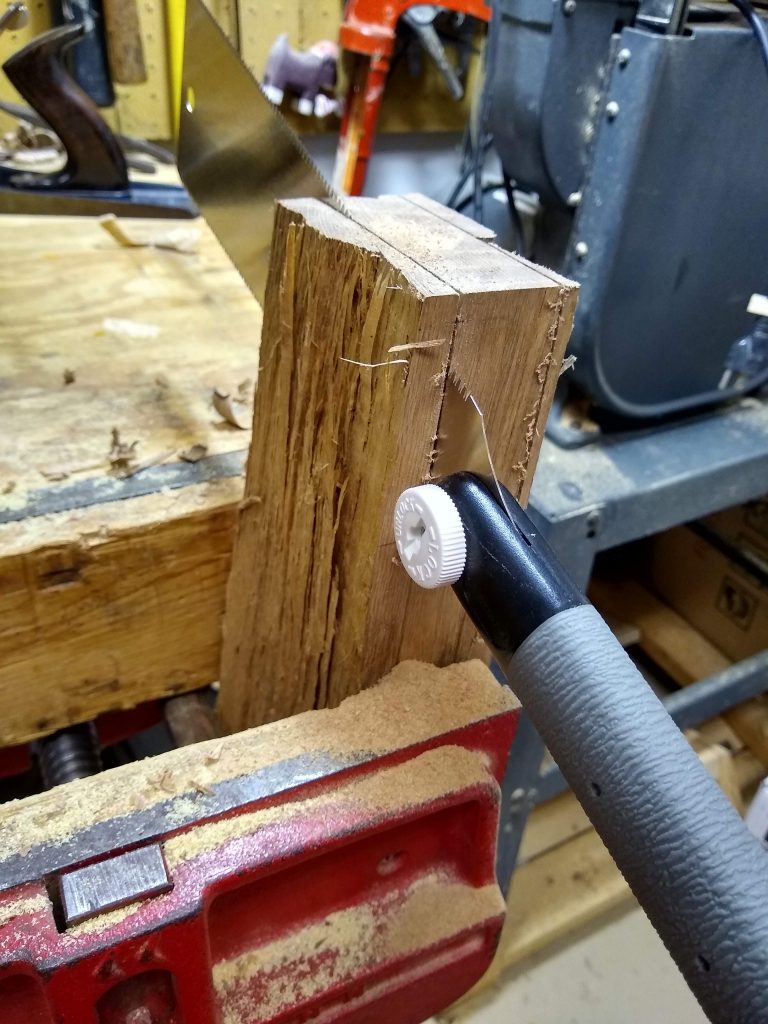
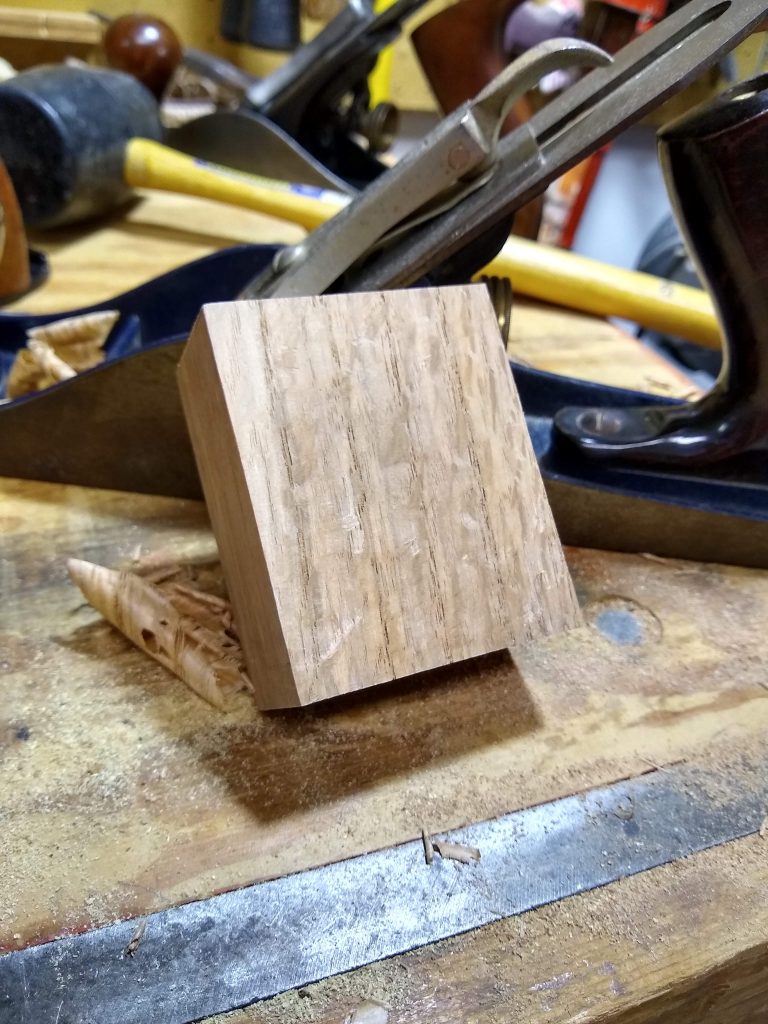
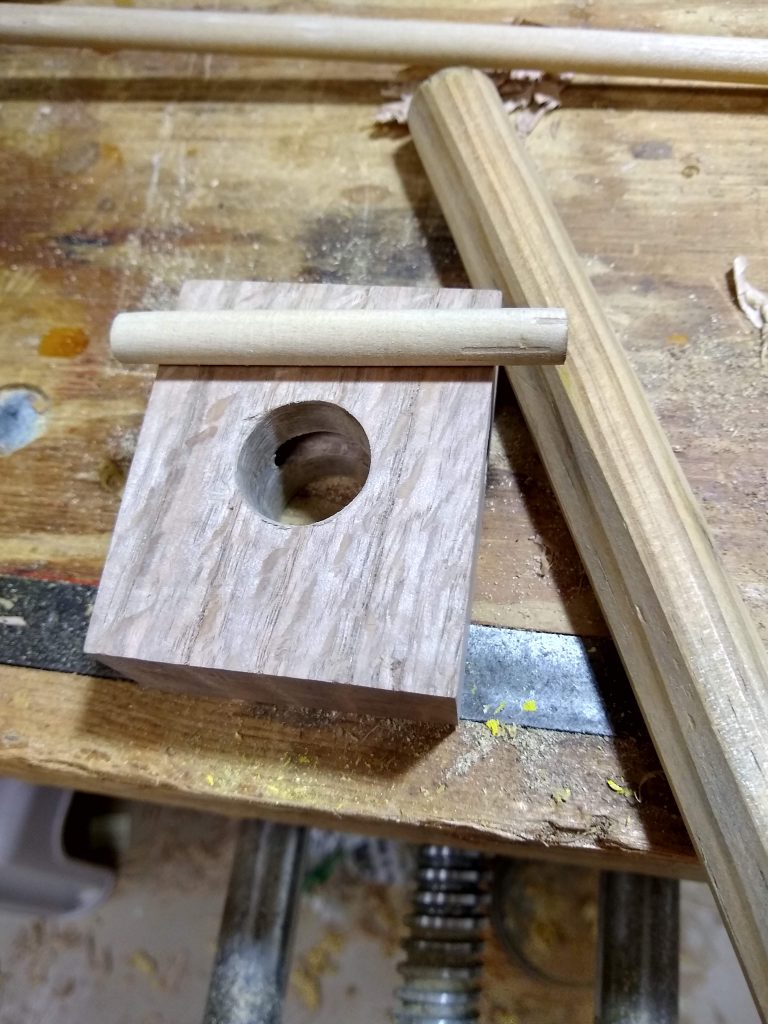
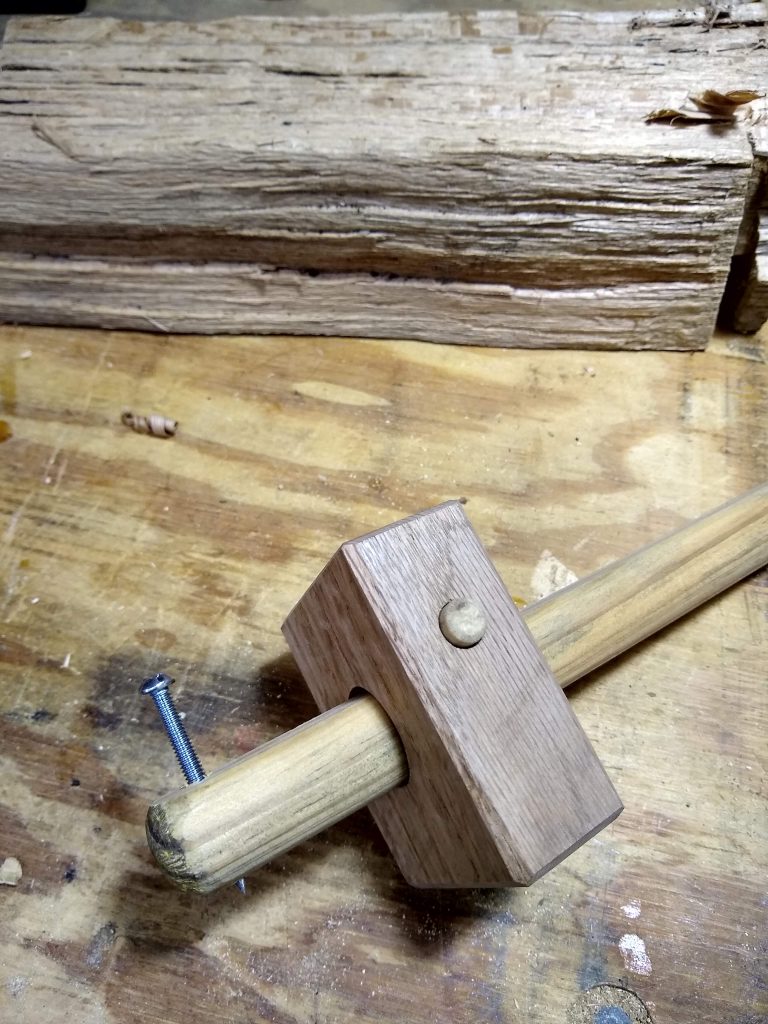
I made the three rip cuts, then cross cut the piece off the end of the log to end up with a roughly 2 3/4 x 2 1/4 x 1 1/4 piece of quarter sawn oak which I proceeded to plane square on all six sides. This is the fence.
I didn’t have any large dowels, but I did have an old worn out broom with a handle a bit over 7/8″ in diameter. I still have an old worn out broom, but it’s handle is 8″ shorter than it used to be.
I had some 3/8″ dowel on hand and cut off a 3″ piece for the locking pin.
First I planed a flat on one side of the broom handle, then slowly rotated it while planing a little off each time until it would fit into a 7/8″ hole.
I then drilled 3/8″ and 7/8″ holes such that the 3/8″ hole intersected one edge of the 7/8″ hole.
I have a bin full of these small machine screws, so I chucked one up in the drill and spun it against the grinder to form a point.
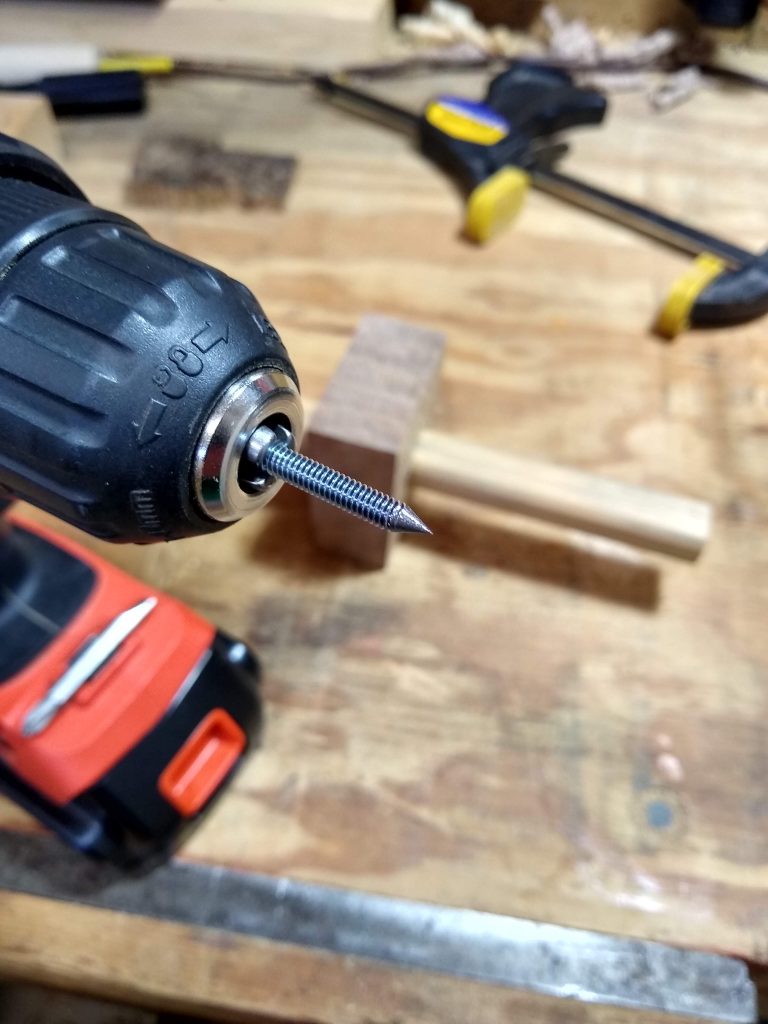
Then drilled an appropriately sized hole in the piece of broomstick,

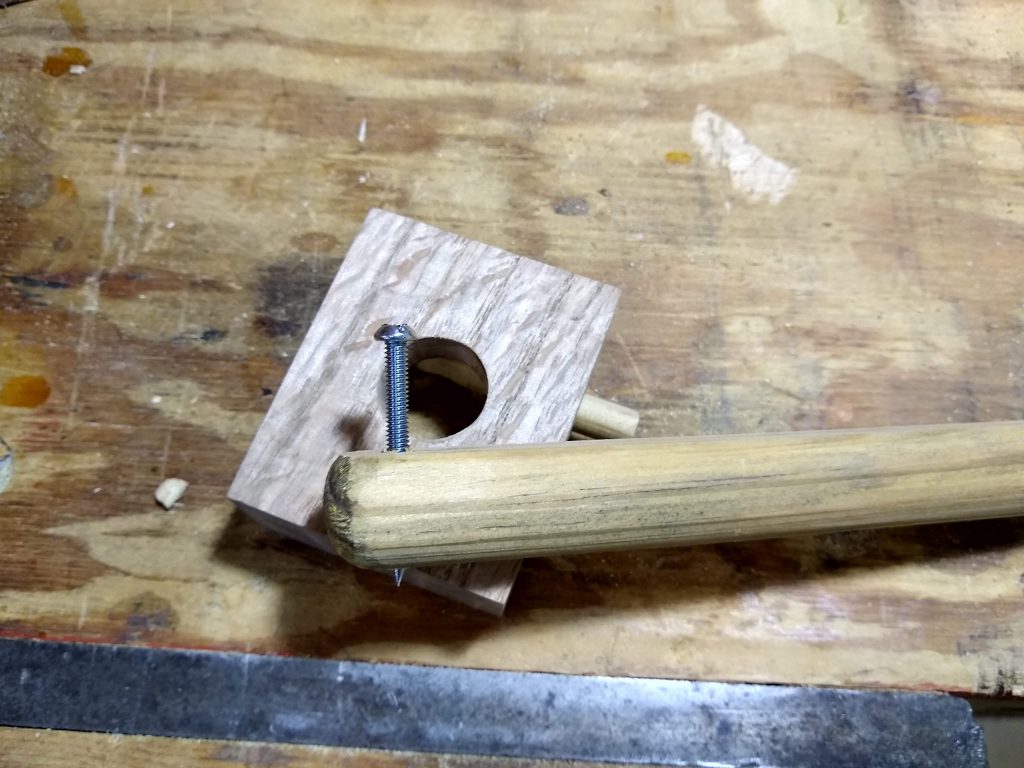
and threaded in the machine screw. Easy to adjust the length. Easy to swap out of I decide I’d rather use one ground to a knife edge instead of a point.
I messed up a bit on the locking pin. The bottom of the cutout should be flat, just clearing the flat on the bar. I went too deep, didn’t get it flat, and the bar rotates slightly before locking. An easy fix – I have several more feet of 3/8″ dowel. Making another one that’s right will take about ten minutes.
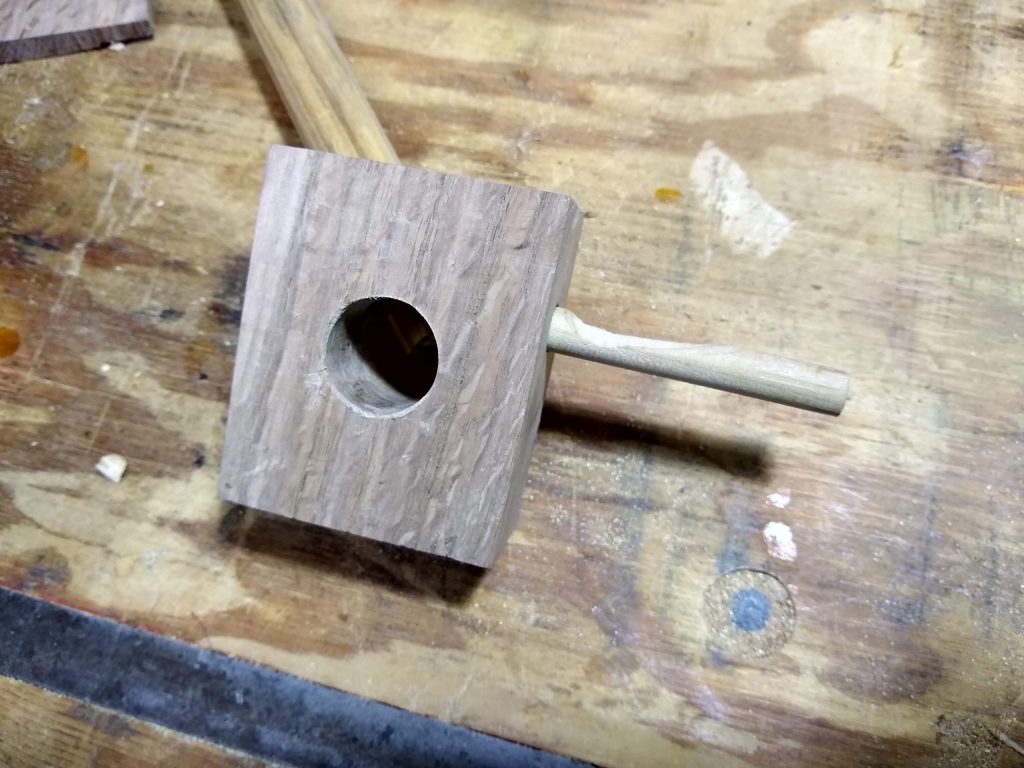
I then chamfered all the edges to make it comfortable to hold.
The final product works great, and being made from scraps, cost absolutely nothing. You can operate it with one hand. To lock it really tightly just give the pin a light tap on the bench. Another light tap on the other side unlocks it.
Excellent work, and good job using scraps on hand!