Controlling your car in a sim using the keyboard isn’t ideal. Too many keys you don’t need placed to closely together to operate by feel. Taking your eyes off the road long enough to find and press the right key often results in unwanted off-road excursions. A button box with which control all the things that need changing during a race is a much better solution.
So, I’ve been looking at amstudio’s sim racing button box for over a year, but just got a’round tuit. Didn’t buy a box. Front panel is leftover acrylic sheet I had lying around the shop. This thing ain’t gonna be pretty, but it’ll work.
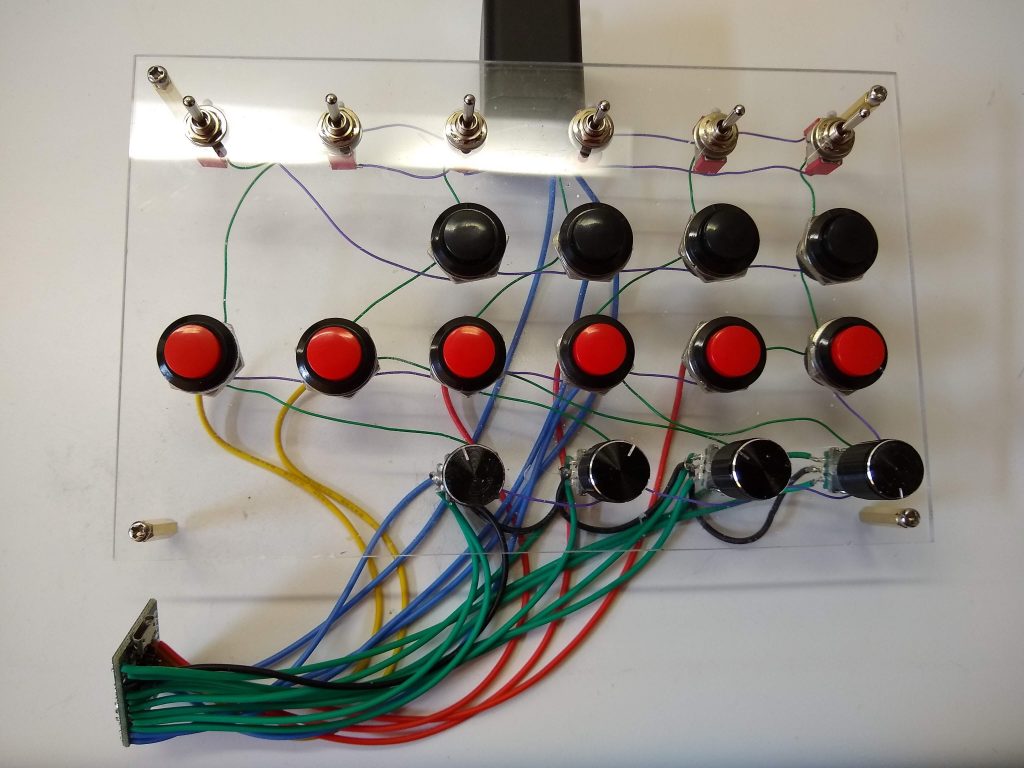
This is actually a complete rewire after I’d totally botched it the first time. I messed up the grid, and after trying to fix it three or four times, just ripped it all out, figured out the correct layout on paper, and did it right.

I suppose I could have painted the panel but I plan on using more than one layout and decided to just slap a overlays on it.

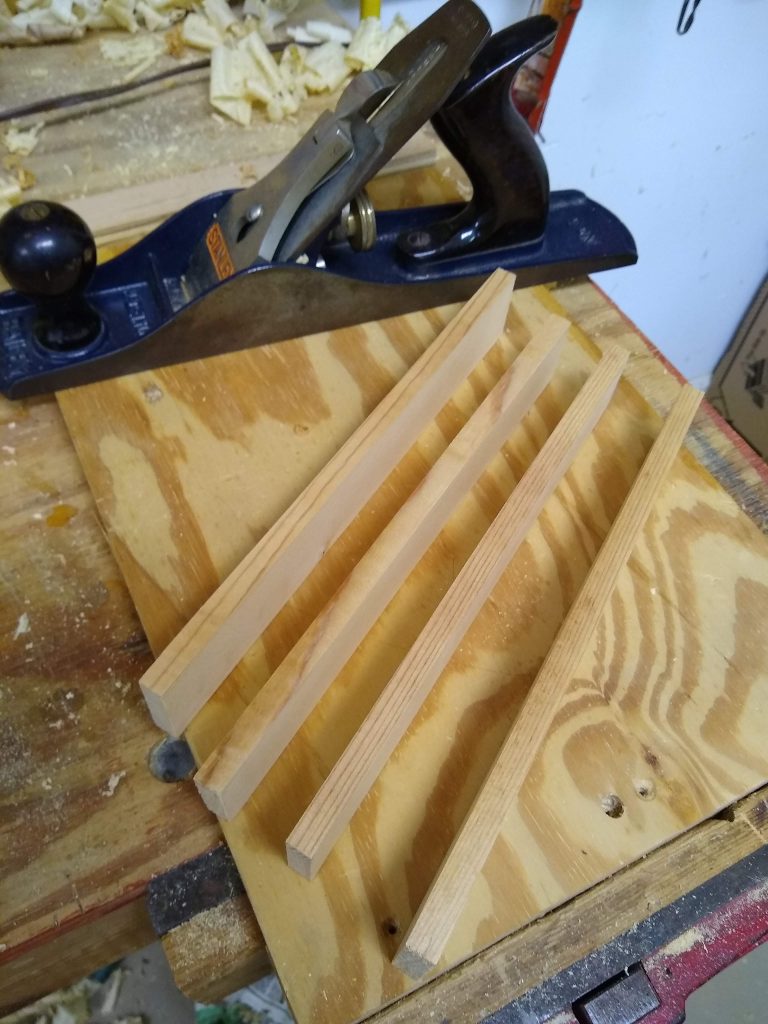
Continuing the “use junk already in the shop” theme, I re-sawed a piece of 2×4 to create the sides of the box. Planed them smooth, cut bridle joints, then assembled and glued the frame.
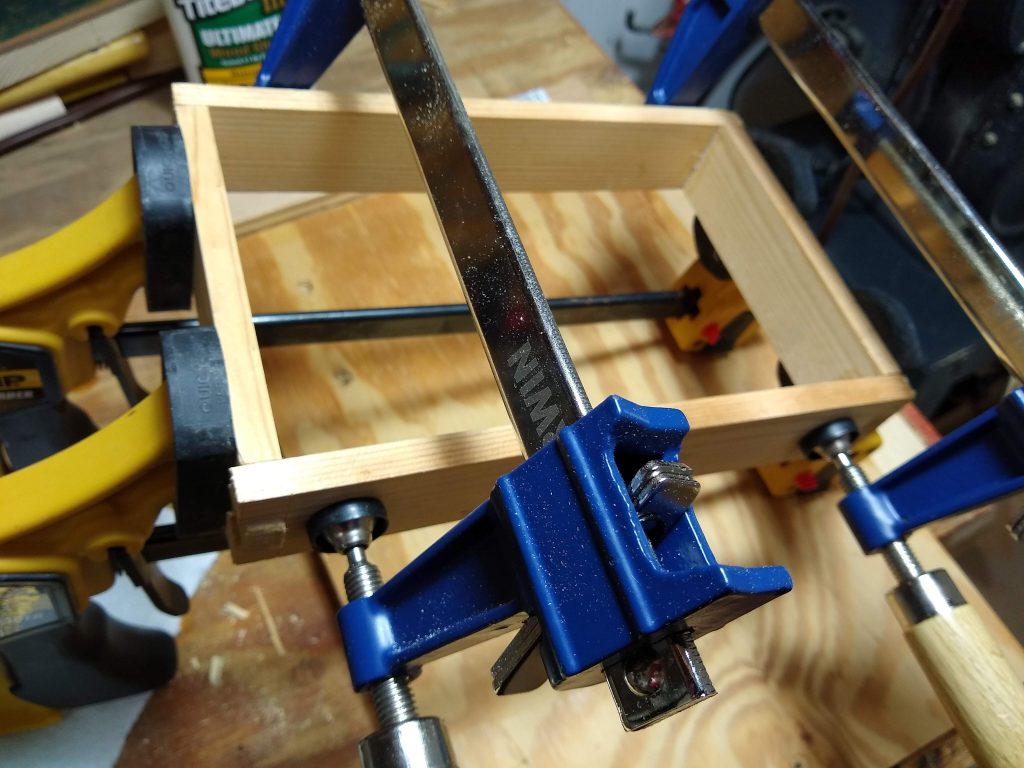
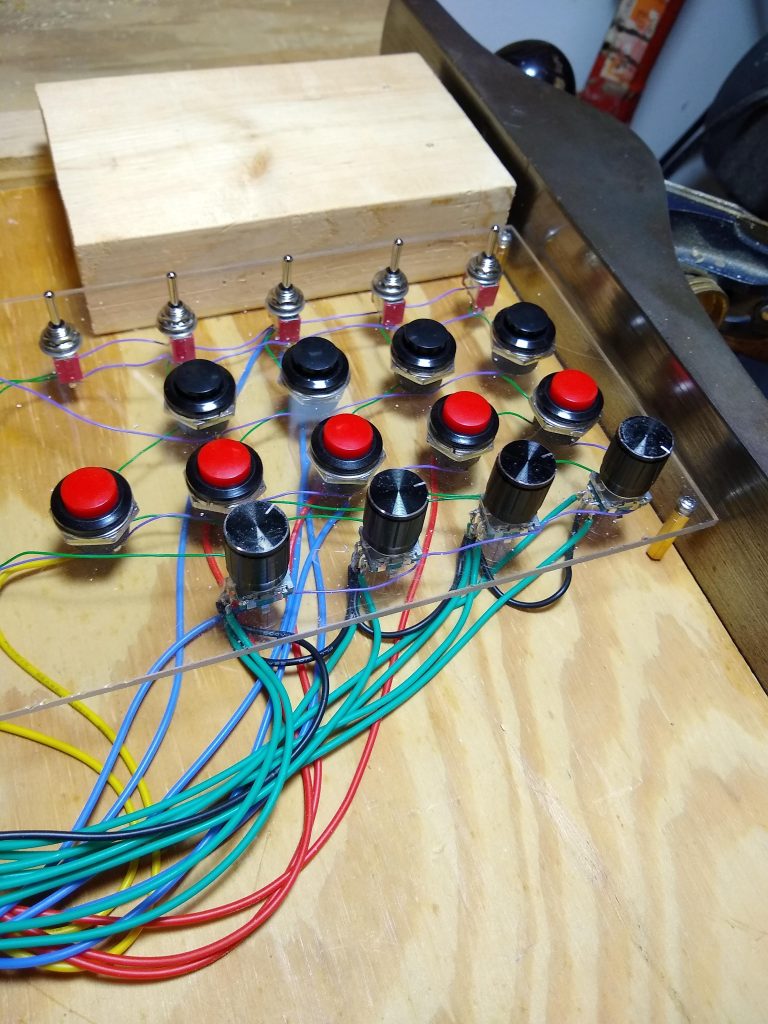
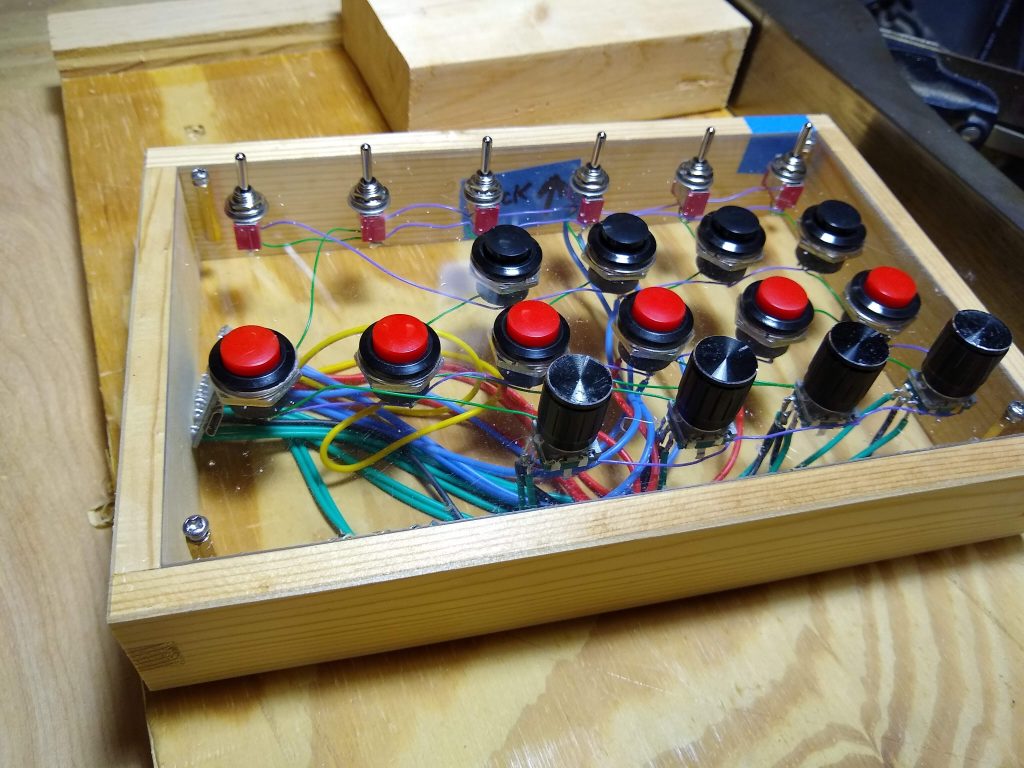
I did have to tweak the panel a tiny bit as the frame was perfectly square, but the panel was off by a few thou. Then added some blocking to support and mount the panel.
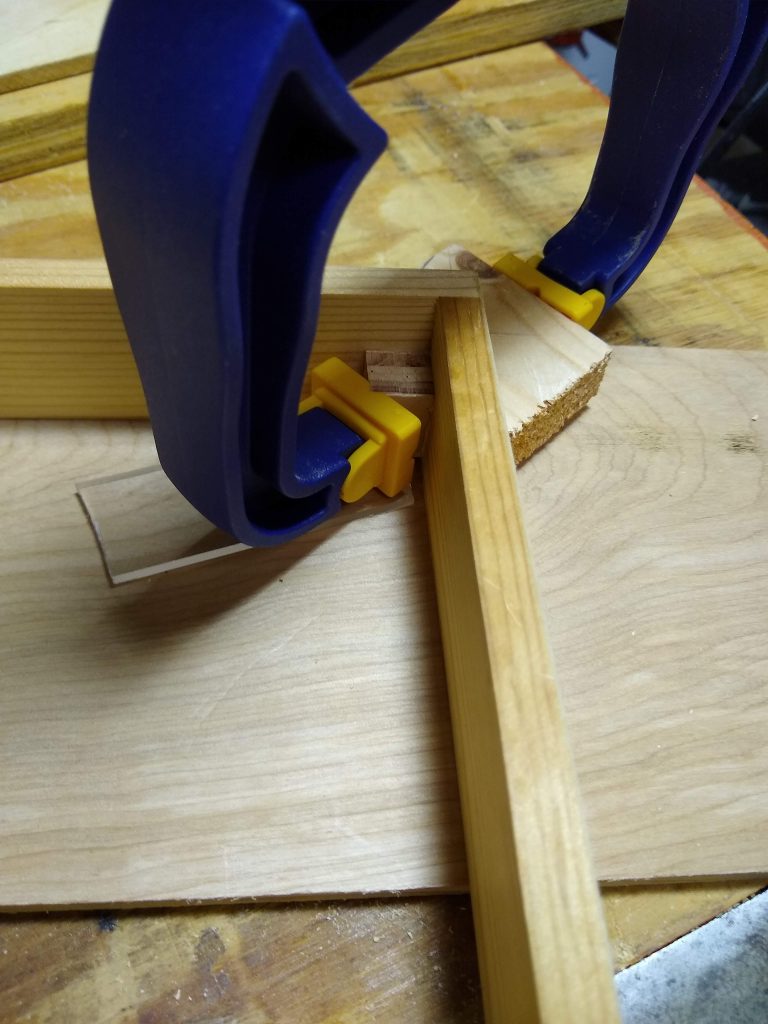

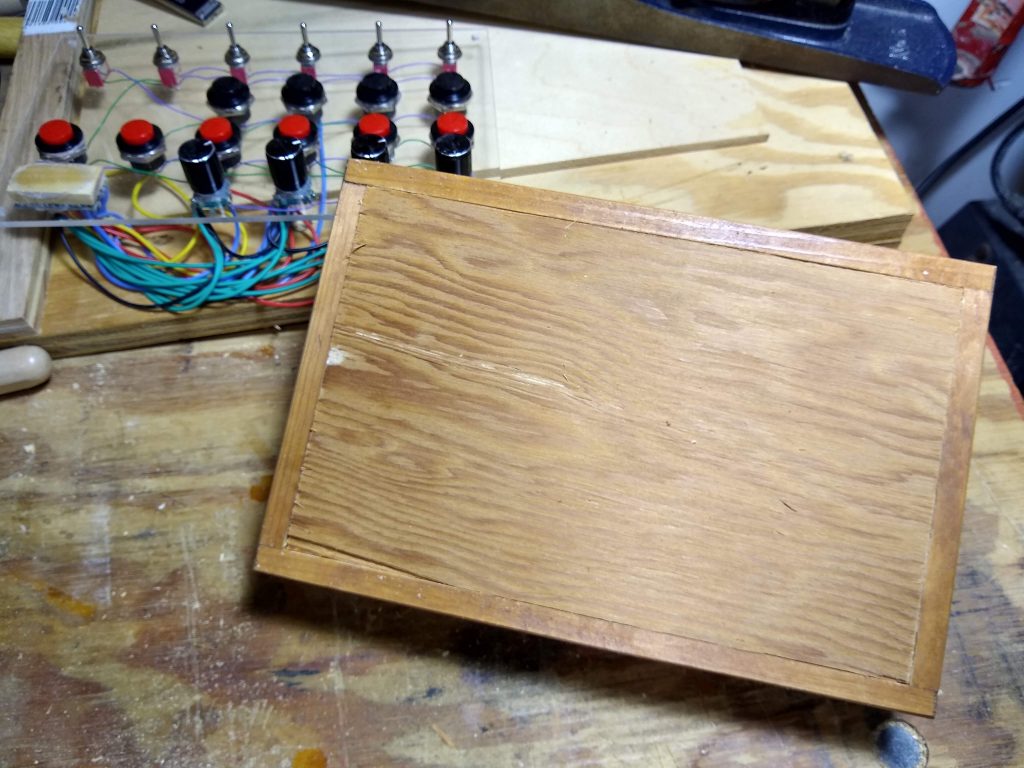
I have a few small bits of 1/4″ plywood in the scrap bin, so that’s what I used for the back and part of the stand. The stand uprights were made from the pine cutoffs from the foot stool I made for my wife a while ago.

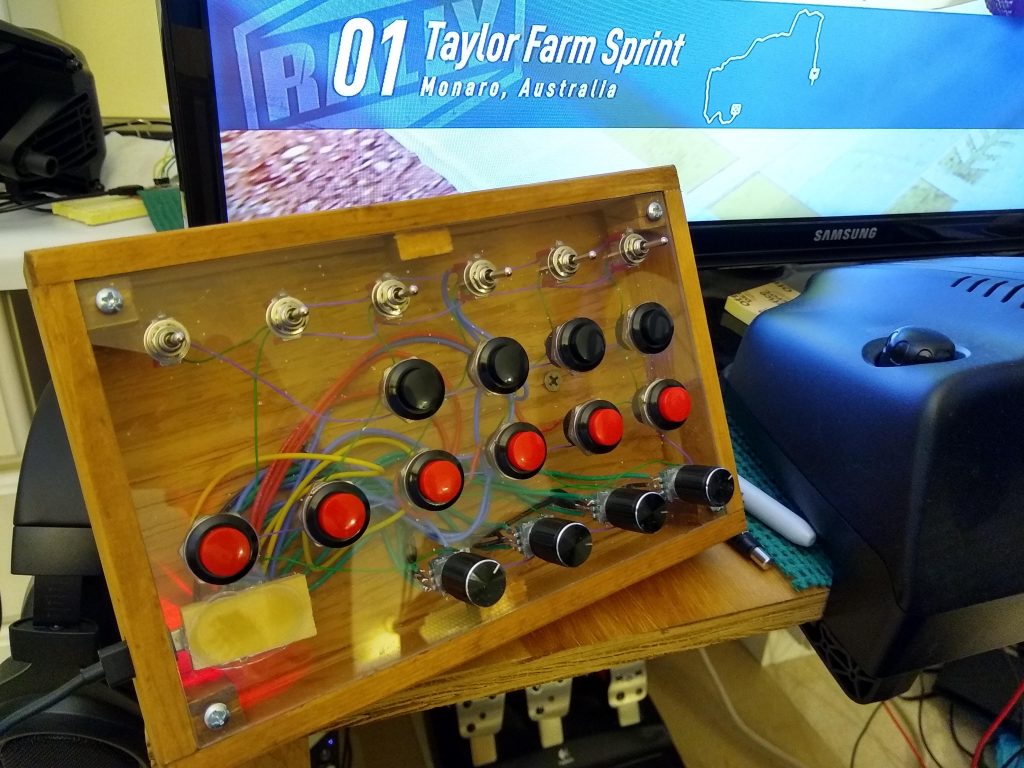
And there you go. Installed and working. The overlays seem to stay on just fine by laying them over the switches. These are card stock. When I finalize the layouts I may go with something heavier and some Velcro to keep it in place.
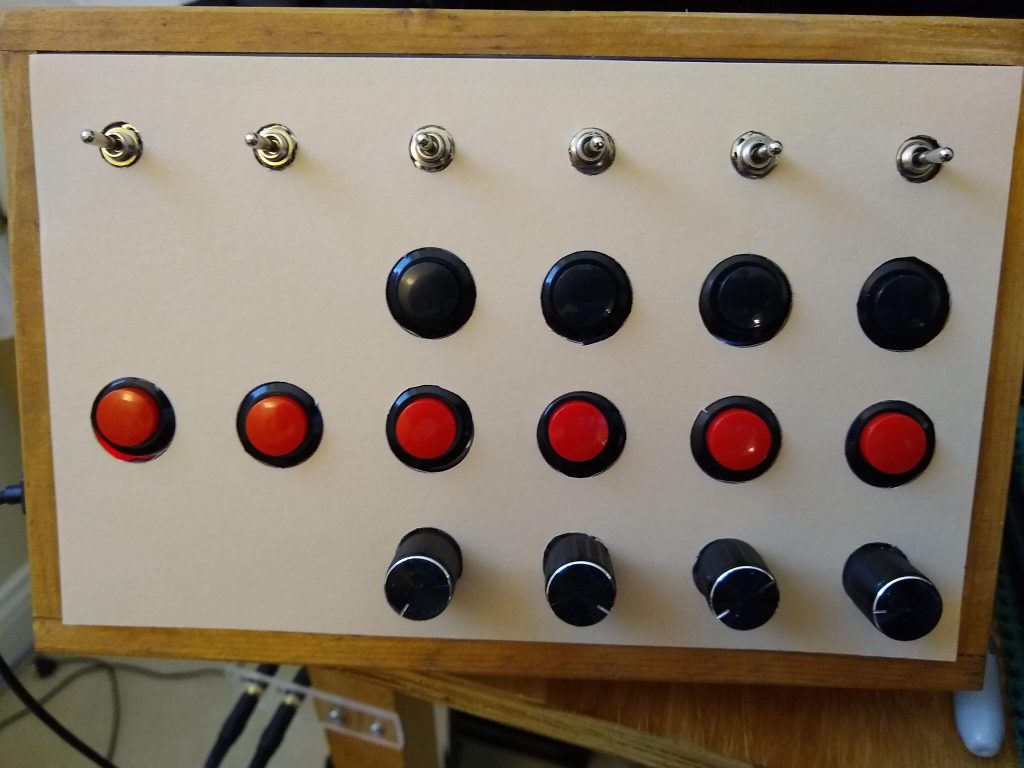
It’s a bit of a PITA to cut out the overlays with an X-Acto knife, but I only use a couple different switch layouts. I’ll eventually print up a nice one once I’m happy with the switch layout and retire the hand written in pencil layouts I’m currently using.
Check out amstudio’s video for a the software for the Arduino. All I’ve changed are the limits to include one more switch.
